I still remember the moment I realized Splendor wasn’t the simple set collection game I’d initially dismissed it as. It was during a weekend getaway to a cabin in northern Wisconsin, sometime in 2015. We’d brought a handful of games, and Splendor made it to the table mostly because it was compact enough to fit in my already overstuffed backpack. Four games later, I was scribbling notes on the back of a gas station receipt, trying to articulate the cascading efficiency patterns I was starting to see emerge.
After approximately 300 games (yes, I’ve kept track—Linda says it borders on compulsive), I’ve developed what I call “milestone acceleration mapping”—a framework for understanding how different resource priorities create dramatically different engine development curves. The fascinating thing about Splendor is that it’s not merely about collecting cards and gems; it’s about creating precise timing breakpoints where your engine suddenly jumps from one efficiency tier to another.
The core insight that transformed my approach was recognizing that in Splendor, the primary constraint isn’t the availability of resources—it’s the number of turns required to convert those resources into victory points. Every decision should be evaluated not based on immediate point gain, but on how it affects your turns-to-victory calculation.

Let me break this down with some practical examples from our regular game sessions.
First, let’s talk about what I call “discount curve acceleration.” Many players approach the early game with a simple heuristic: grab whatever gems seem most valuable for immediate card purchases. This creates a linear development pattern where your engine grows steadily but predictably.
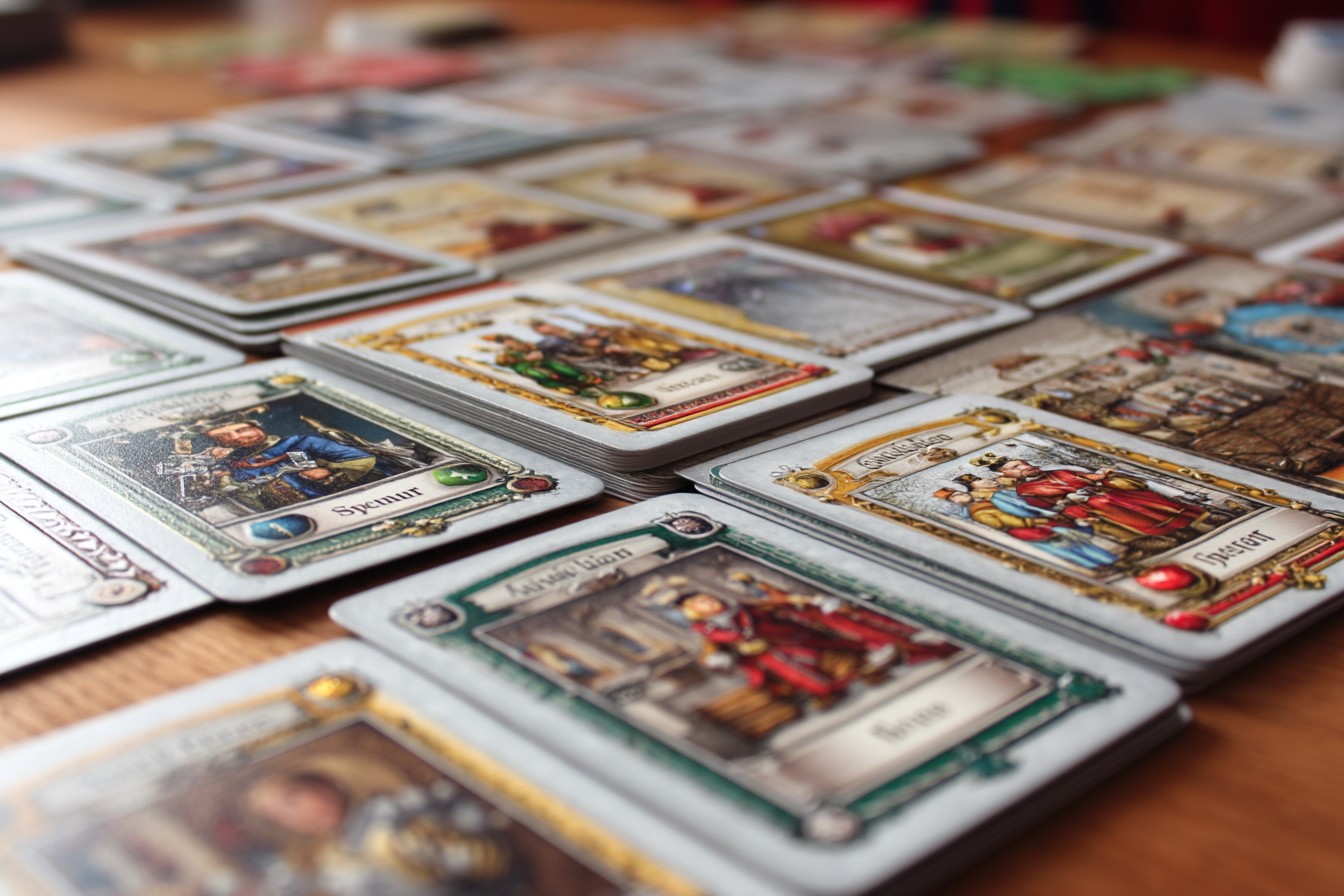
Instead, I recommend a deliberate focus on creating discount patterns that compound. This means prioritizing tier 1 cards not based on their point values (which are minimal anyway) but on how their discount colors align with tier 2 cards you can spot in the display or anticipate based on the distribution of the deck.
During a family game night last winter, I demonstrated this approach with painful clarity (at least, painful for everyone playing against me). I began by focusing exclusively on white and blue discounts from tier 1, ignoring green entirely despite its abundance in the display. By turn 7, I had three white and two blue discount cards, allowing me to purchase tier 2 cards without collecting any additional gems. By turn 12, I was acquiring tier 3 cards while my opponents were still struggling to bridge from tier 1 to tier 2. The final score wasn’t even close.
Temperature seems to affect strategic decision-making in curious ways—I’m not making this up! During summer game nights on Derek’s patio, players consistently make more aggressive, short-term optimization choices compared to our winter sessions in my heated basement. Something about physical comfort apparently influences time-horizon preferences. We’ve started factoring this into our strategy, slightly adjusting expectations for opponent behavior based on playing conditions.
The most powerful engine-building pattern in Splendor involves what I call “milestone leapfrogging.” Rather than viewing the tiers as separate development phases, I identify specific card combinations that allow bypassing entire portions of the traditional progression path.
My wife Linda has mastered this technique to a frightening degree. In our most recent game, she focused exclusively on collecting emerald and diamond discounts in tier 1, completely ignoring sapphires despite their abundance. This seemed counterintuitive until turn 8, when she revealed her strategy by purchasing two tier 2 cards in consecutive turns that gave her precisely the combination of discounts needed to acquire a 4-point tier 3 card without any additional gem collection. She essentially “leapfrogged” over the normal development curve, creating a victory point acceleration that none of us could match.
Noble targeting adds another fascinating dimension to strategic planning. Many players treat nobles as bonus objectives to be claimed if convenient. This fundamentally misunderstands their strategic value. At 3 points each, nobles represent almost 20% of the typical winning score in a 4-player game, making them not optional bonuses but essential components of any efficient victory path.
The key insight regarding nobles is what Josh calls “the minimum viable path” approach. Rather than haphazardly collecting discount cards and hoping to qualify for nobles eventually, calculate the exact minimum combination of discount cards needed to claim specific nobles, then build your acquisition strategy around that precise target.
During a particularly competitive game against some friends from my systems analysis job, I employed this technique to claim two nobles by turn 12—acquiring exactly three cards each of the colors required and not a single extra discount that didn’t contribute to a noble qualification. This hyper-efficient pathing meant I “wasted” no turns on discounts that weren’t directly advancing my noble strategy.
Reserve actions create yet another strategic dimension that many players underutilize. The obvious application is reserving cards you want before opponents can take them, or securing wild gold gems when you need that specific resource. But the more sophisticated application involves what Derek has termed “development curve shaping”—using reserves to create guaranteed future efficiency breakpoints.
This means sometimes reserving cards that you won’t purchase for several turns, but that represent critical components of your eventual discount pattern. By securing these key cards early, you reduce the uncertainty in your development timeline and can plan subsequent turns with much higher precision.
Last month, I demonstrated this concept in a game against Josh and two of his friends from college. On turn 3, I reserved a tier 2 card that I wouldn’t be able to purchase until at least turn 6 or 7. This seemed premature, but that specific card was the lynchpin in a discount pattern that would eventually allow me to purchase tier 3 cards for just 1-2 gems each. When I finally executed this strategy on turn 9, I was able to acquire two tier 3 cards in consecutive turns, jumping from 5 points to 13 points in just two actions.
The randomness of the card display introduces an interesting risk management element to long-term planning. Rather than committing absolutely to a single color strategy, I’ve found success with what I call “flexible pathing”—identifying multiple potential development routes based on the initial card display, then remaining adaptively focused as the game evolves.
In practice, this means starting with a primary color strategy but maintaining awareness of how your discount pattern could pivot if certain key cards appear. Sometimes shifting from your initial plan to capitalize on an unexpected opportunity creates more efficiency than stubbornly adhering to your original strategy.
During a game at a local convention last year, I began with a clear focus on red and white discounts. But when two high-value green tier 2 cards appeared in the display simultaneously on turn 5, I recognized the opportunity to pivot. By shifting to incorporate green into my strategy, I was able to create an unexpected efficiency spike that accelerated my development curve beyond what my original plan would have allowed.
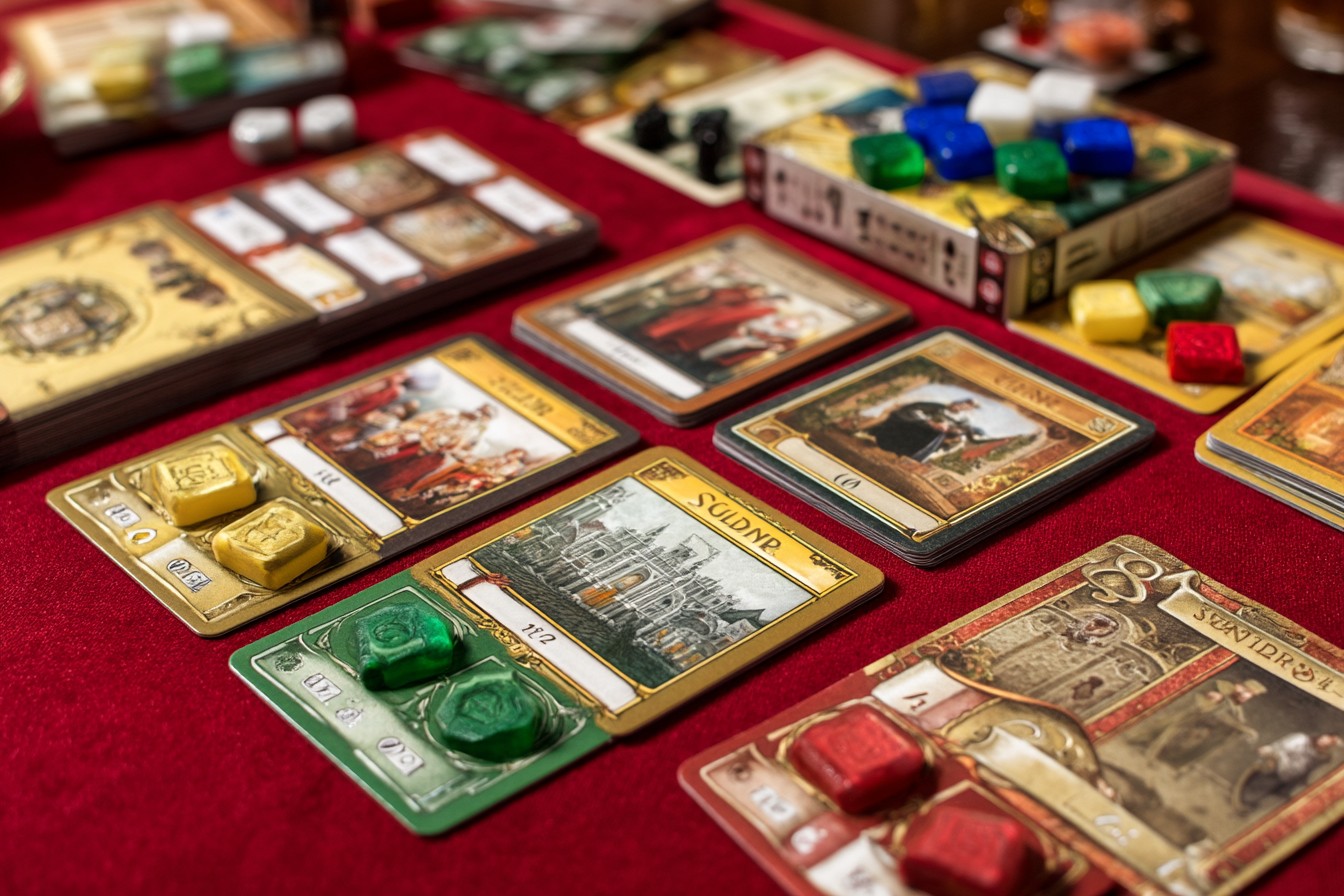
The gem supply limitations in different player counts drastically change optimal strategies. In 2-player games, where gem scarcity is rarely an issue, discount acceleration becomes paramount. In 4-player games, where specific gems are frequently depleted, gem acquisition timing and reserve actions take on much greater importance.
I’ve tracked outcomes across dozens of games at various player counts, and the data is clear: the winning strategy in 2-player games typically involves aggressive discount building with minimal gem collection, while 4-player winners usually employ more balanced approaches that account for resource contention.
My buddy Tom has developed what he calls the “tier skipping threshold” concept—identifying precisely how many discount cards of each color are needed before you can realistically begin ignoring tier 1 cards entirely and focus on tiers 2 and 3. Through extensive gameplay analysis, we’ve determined this threshold typically sits at 4-5 discount cards, with the specific combination depending on their color distribution.
One counterintuitive strategy I’ve found surprisingly effective is what I call “false signaling.” Since experienced players constantly observe which gems their opponents collect to deduce their strategies, deliberately collecting a gem color you don’t actually need can sometimes cause opponents to avoid cards you secretly want. This psychological misdirection can be particularly powerful in the early game when development patterns aren’t yet clearly established.

In a recent family game, I made a show of collecting blue gems in my first two turns, leading Linda to focus elsewhere despite blue being one of her target colors. This created an opening for me to quietly pivot to my actual strategy (red/green discounts) while she focused on competing with Josh for white cards. By the time my true objective became clear, I had already established a significant efficiency advantage.
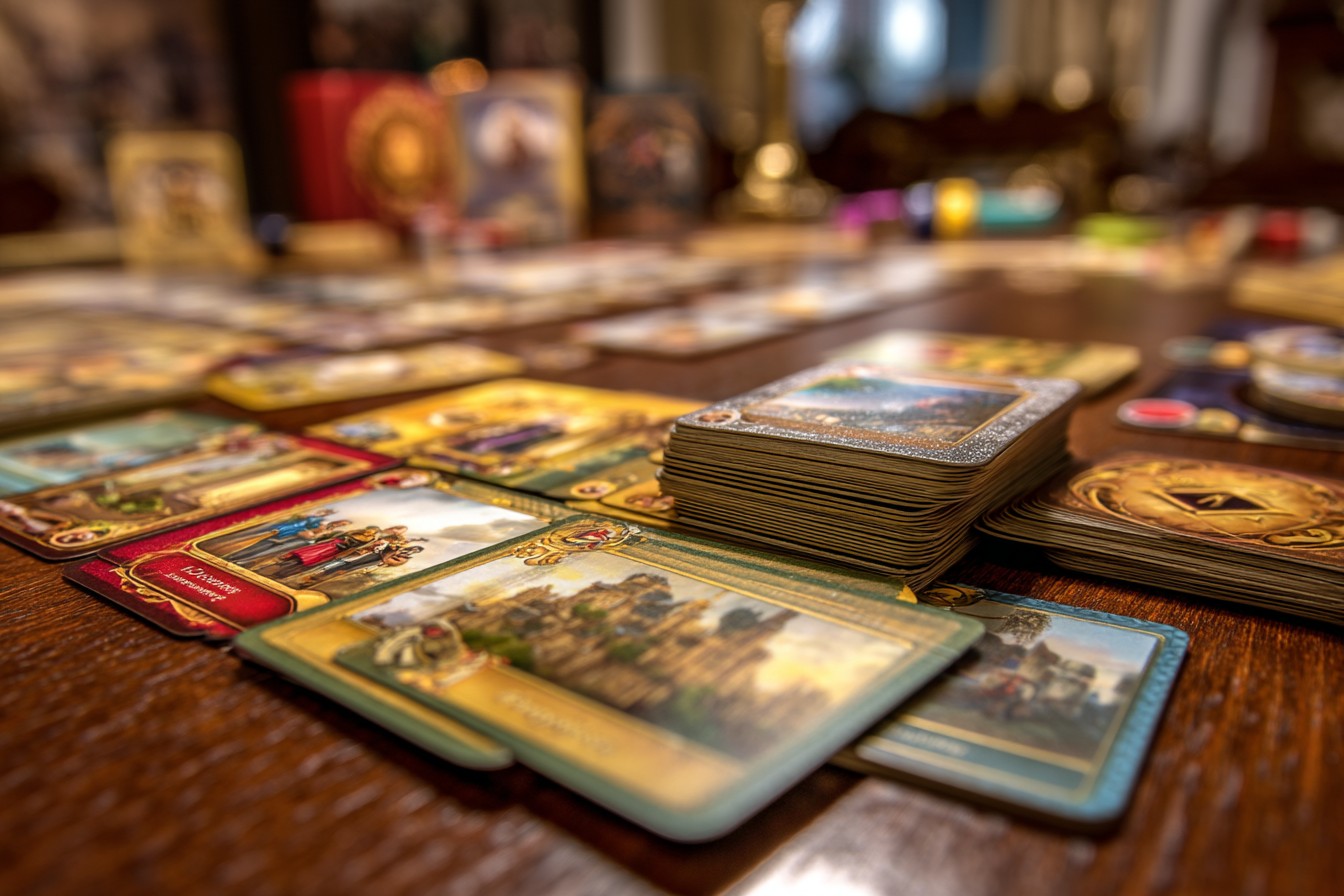
The spatial arrangement of the card display creates interesting tactical considerations as well. Cards in the rightmost positions of each tier have been available longer, suggesting they’re less desirable to other players. However, this creates an opportunity—sometimes these “passed over” cards are actually powerful options that simply didn’t fit other players’ strategies but might perfectly complement yours.
I’ve developed a habit of quickly assessing these rightmost cards first, often finding unexpected synergies that other players have overlooked in their focus on the freshly revealed leftmost options. On multiple occasions, these overlooked cards have provided precisely the discount combination I needed to create a development breakthrough.
Understanding the probability distributions within the three card tiers adds another layer to strategic planning. Tier 1 has a relatively balanced color distribution, tier 2 skews slightly toward certain combinations, and tier 3 has distinct patterns of both colors and point values. This knowledge lets you calculate the approximate likelihood of finding specific cards you need as the display refreshes.
After hundreds of games across multiple play groups, I’ve concluded that Splendor is fundamentally a game of development curve manipulation. The gems, cards, and nobles are simply different tools for shaping that curve. The player who most effectively creates efficiency spikes—moments where their engine suddenly jumps to a higher functional tier—almost always wins.
So the next time you’re staring at that initial card display, resist the temptation to simply grab the most immediately useful gems. Instead, look for the patterns that create compounding efficiency, the discount combinations that enable milestone leapfrogging, and the precise noble qualification paths that minimize wasted actions.
Because in the world of Renaissance gem merchants, true wealth doesn’t come from collecting the shiniest stones—it comes from creating an engine of acquisition so efficient that your competitors are left wondering how you possibly accumulated so much so quickly. That’s the true splendor of this deceptively simple game.
Leave a Reply