You know, after forty years of working with electrical systems, I thought I understood power pretty well. Then my grandson Jake introduced me to Power Grid about four years ago, and I figured – hey, this should be right up my alley, right? Well, turns out knowing how electricity works in real life doesn’t help much when you’re trying to build a power network on a board game map. Especially when that map happens to be Russia or Japan.
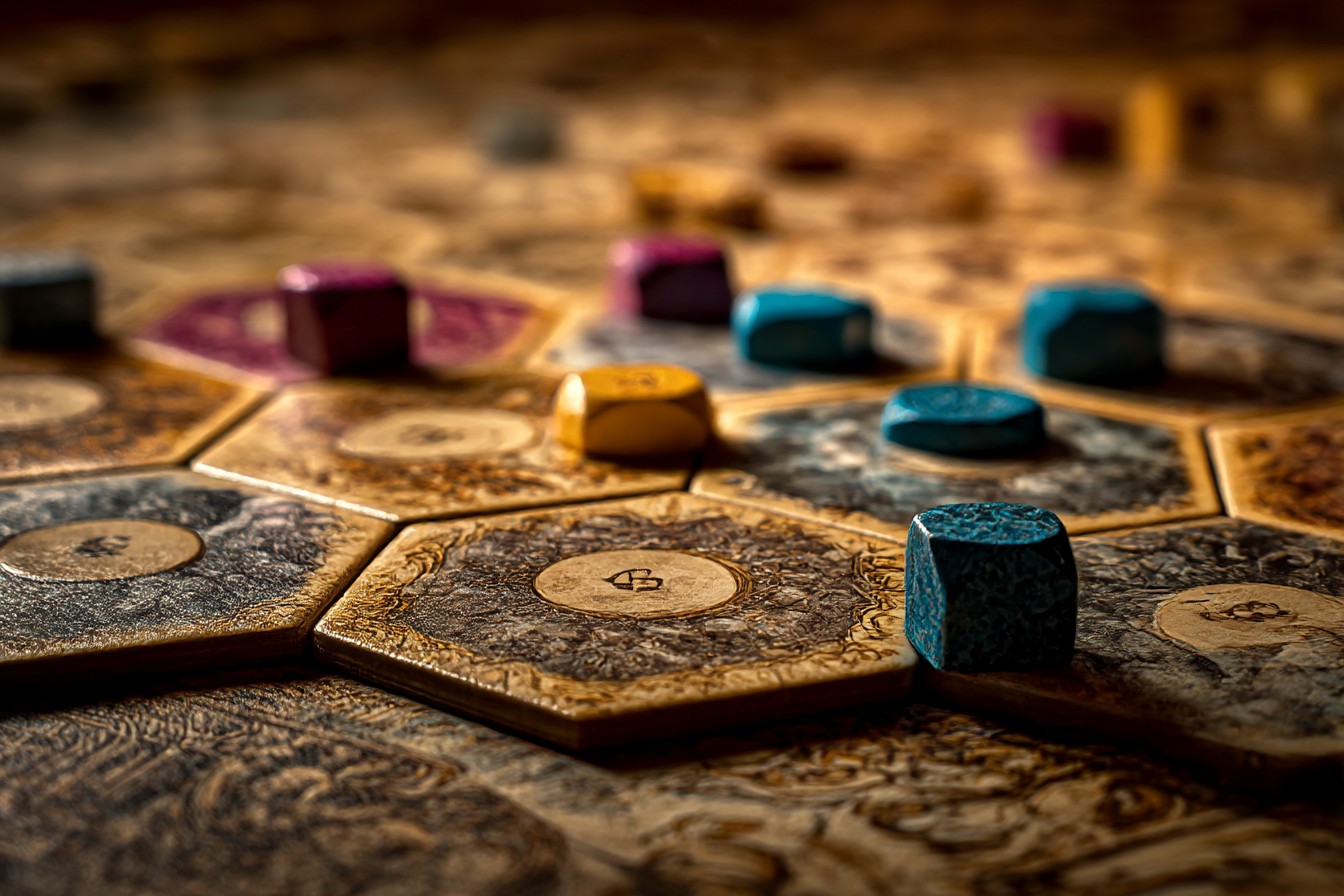
I’ll be honest, when Jake first pulled out the base Power Grid game, I was skeptical. Looked complicated, lots of pieces, thick rulebook – the kind of game that would’ve scared me off when I first started playing modern board games with my grandkids. But Jake was patient (bless him), walked me through it step by step, and before I knew it I was hooked. There’s something deeply satisfying about building up your power network, buying plants, managing resources. Reminded me of planning electrical jobs, actually – you need to think ahead, budget your materials, anticipate problems.
But then Jake brought over these expansion maps. Russia and Japan, he said, totally different experience. I thought, how different could they be? Same basic game, just different geography, right? Wrong. Dead wrong. These maps don’t just change the scenery – they completely flip the script on everything you think you know about Power Grid strategy.
My first game on the Russia map was… well, let’s just say it was educational. And by educational, I mean I got absolutely crushed. See, I approached it like the standard USA map, figuring I’d gradually expand my network, take my time, make careful decisions. That approach works fine on the regular board. On Russia? It’s a disaster waiting to happen.
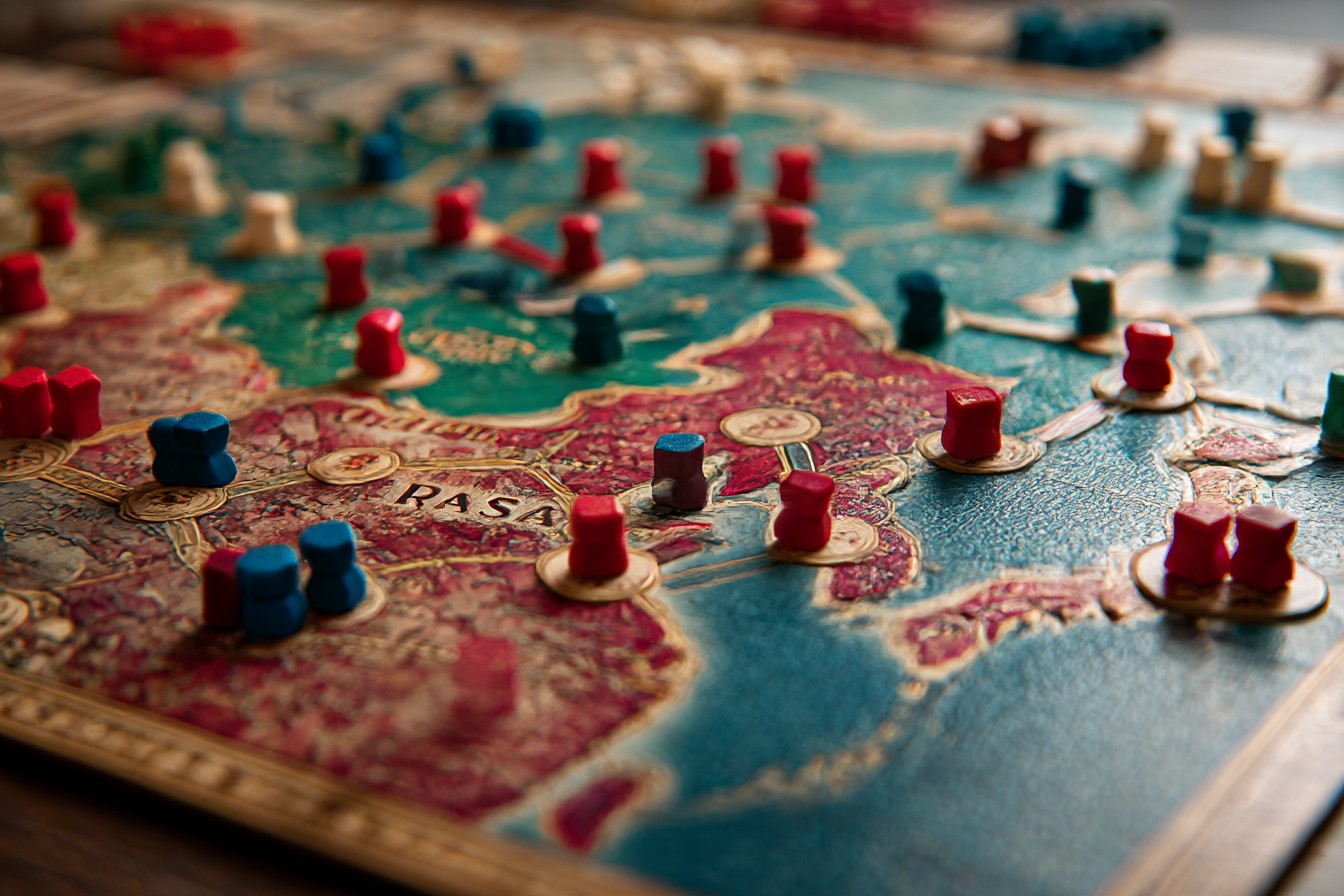
The thing about Russia is how the regions are set up. You’ve got these massive areas connected by just a few key cities, and if you don’t move fast enough to secure your territory, you’ll find yourself completely locked out. It’s like… imagine you’re wiring a house, but someone else can come along and block off entire sections of the house from you. Permanently. That’s what happens if you hesitate on the Russia map.
I learned this the hard way during a game with Jake and his friend Alex about two years ago. I was being my usual cautious self, thinking through every move carefully, when Alex swooped in and claimed this huge region I’d been eyeing. Just like that, my expansion plans were shot. I spent the rest of the game cramped into this tiny corner while Alex controlled what felt like half of Russia. Not a fun experience, let me tell you.
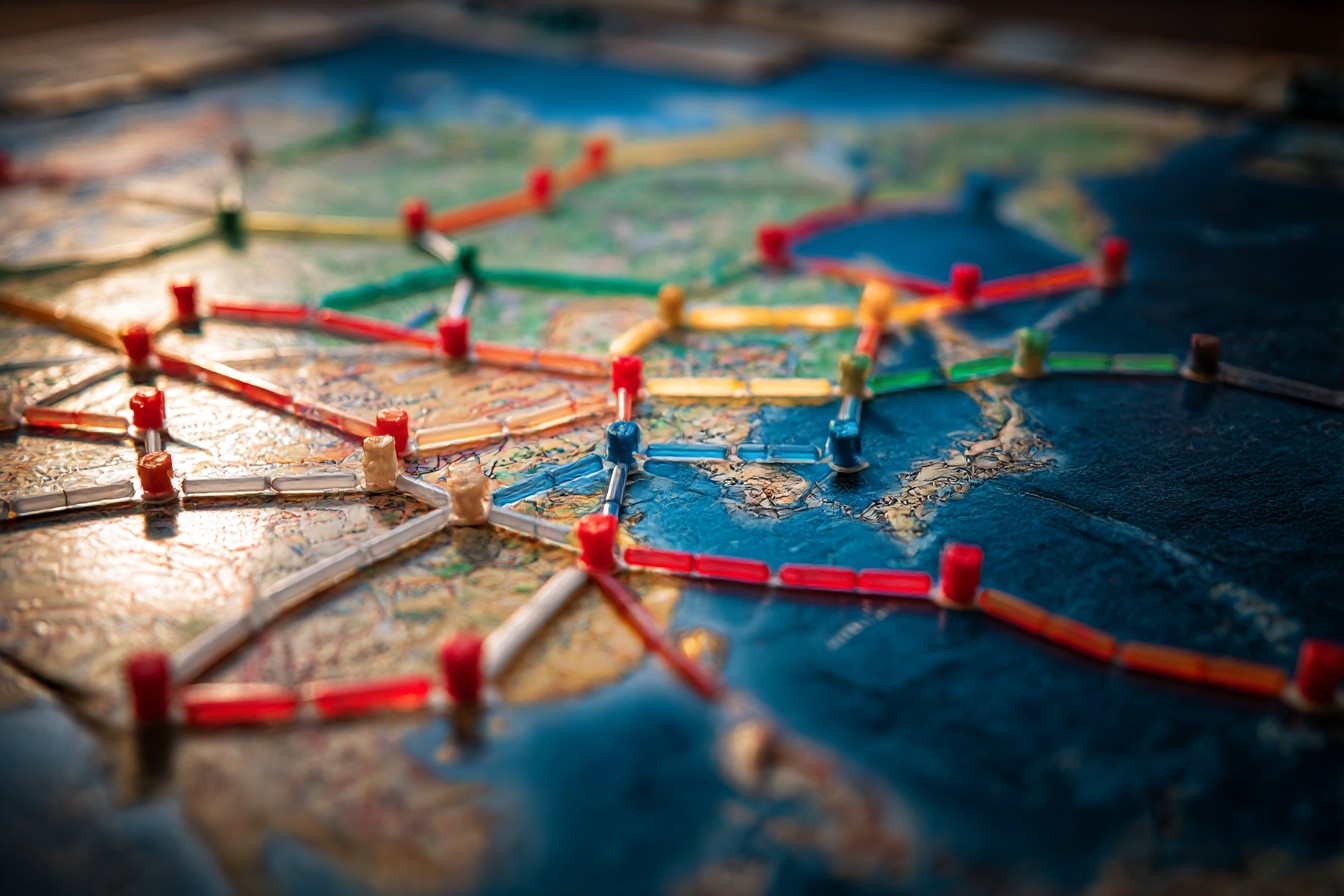
The Japan map is a whole different kind of challenge. Where Russia punishes indecision, Japan punishes poor planning. See, on Japan, cities get more expensive as you build more of them. Sounds simple enough, until you realize how drastically this changes your money management. Every connection becomes a major financial decision instead of just another expansion move.
Carol watched me play Japan once and said I looked more stressed than when I’m doing our taxes. She wasn’t wrong. You have to think so far ahead on that map – not just where you want to build next, but where you want to build five moves from now, and how much money you’ll need for each step. My electrician brain kept trying to apply real-world logic (shorter connections should be cheaper, right?), but the game has its own brutal mathematics.
I remember one game where I had everything planned out perfectly – or so I thought. Had my power plants, had my fuel, knew exactly where I wanted to expand. Problem was, I hadn’t properly calculated the escalating connection costs. Ran out of money halfway through my expansion and had to watch helplessly as Jake built around me. Felt like running out of wire in the middle of a job, except worse because I should’ve seen it coming.
Jake taught me a trick that completely changed how I approach the Japan map. Instead of planning forward (where should I build next?), you plan backward. Start with where you want to be at the end of the game, then work backwards to figure out the most efficient path to get there. It’s counterintuitive – at least it was for me – but it works. Sort of like mapping out an electrical system from the panel backward to each outlet.
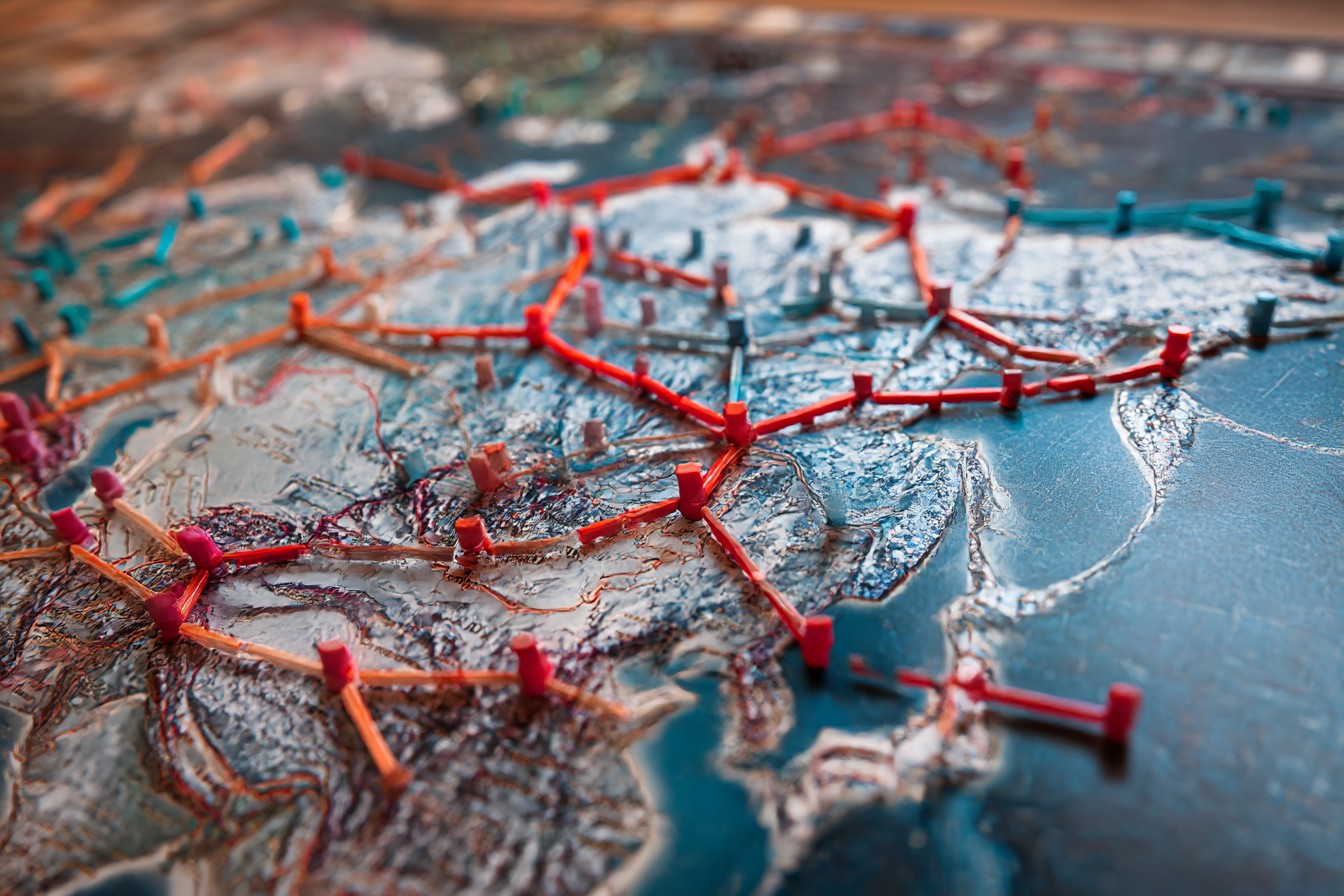
Both maps also mess with the power plant market in ways that caught me off guard. On the regular board, you can sometimes get away with less-than-perfect plants if your positioning is good. These expansion maps don’t give you that luxury. Every inefficiency gets magnified because you’re operating under tighter constraints.
The fuel situation gets tricky too. Russia’s regional setup means you can control great territory but still struggle to get the fuel you need to actually run your plants. Happened to me more than once – sitting there with a beautiful network and expensive power plants, but all the coal I needed was locked up in regions I couldn’t reach affordably. It’s frustrating in a way that makes you want to flip the table, except you can’t because your grandson spent his allowance money on this expansion and he’s having a great time watching you struggle.
What really gets me about these maps is how they punish the kind of flexible, adaptable strategy that works well in other games I play with the grandkids. In Ticket to Ride or Carcassonne, you can often change direction mid-game if you spot a better opportunity. Russia and Japan force you to commit harder to your chosen path because switching strategies mid-game is so expensive.
This makes reading other players crucial in ways I’m still learning. At my age, picking up on subtle cues and predicting what teenagers are going to do isn’t exactly my strong suit. But these maps force you to anticipate other players’ moves earlier and more accurately than the base game. Jake’s gotten pretty good at the poker face, but I’ve learned to watch his buying patterns instead of his expressions.
The stress level is definitely higher on these maps too. I’ve seen Jake get genuinely frustrated when he realizes he’s painted himself into a corner – and Jake’s usually pretty calm about board games. There’s something about these expansion maps that creates more tension because mistakes are less forgiving. You can’t just shrug off a bad turn and catch up later like you might on other boards.
I’ve made every mistake possible on these maps, trust me. Tried to control entire regions that looked powerful but weren’t actually profitable. Focused too much on short-term gains and ignored long-term positioning. Underestimated connection costs and ran out of money at crucial moments. Each failure taught me something new, though – sometimes painful lessons, but valuable ones.
My advice to other grandparents trying to keep up with their grandkids on these challenging maps? Don’t be afraid to fail spectacularly. Seriously. I learned more from my worst defeats than from accidentally stumbling into victories. Let your usual strategies fail completely, then figure out why they didn’t work. It’s the only way to develop the kind of respect these maps demand.
These expansion maps have made me a better Power Grid player overall, even when we go back to the standard USA board. They’ve taught me to think more systematically about expansion timing, resource management, and long-term planning. Skills that translate to other games too, actually. Plus, there’s something satisfying about holding your own against teenagers on some of the most challenging board game maps ever designed. Even if it did take me about twenty games to stop embarrassing myself completely.