I still remember the moment I fell in love with Sagrada. It was during my fourth game, playing with Linda and our friends Mark and Sarah. I had been placing dice somewhat haphazardly through the first few rounds, focusing more on meeting the immediate placement restrictions than any long-term strategy. Then suddenly, midway through the game, I found myself staring at a partially completed window that was inadvertently perfect for scoring the “columns with no repeated colors” public objective. I shifted my strategy on the fly, carefully drafted the remaining dice, and ended up winning by a comfortable margin. That moment—when I realized that Sagrada was as much about adaptive planning as it was about the obvious pattern restrictions—transformed how I approached the game.
Over 70+ plays later (a conservative estimate, as I’ve long since stopped logging individual games), I’ve developed what I consider a reasonably sophisticated approach to dice drafting and placement in Sagrada. What initially appears to be a straightforward puzzle of matching colors and numbers reveals itself, with experience, to be a delicate balancing act between pattern completion, public objective maximization, private objective fulfillment, and tool utilization.
My regular gaming group has a running joke about my “Sagrada squint”—the particular expression I apparently make when evaluating potential dice placements, eyes narrowed and head slightly tilted. “David’s entered calculation mode,” Linda will announce to the table whenever she notices it. They tease, but that focused evaluation has led to my winning approximately 60% of our Sagrada games over the past few years. Not that I’m counting. (Okay, I’m definitely counting.)
The fundamental principle that guides effective dice drafting in Sagrada is what I think of as “constraint hierarchy”—understanding which restrictions are most limiting and prioritizing your choices accordingly. Window patterns impose both color and number restrictions, but these are not equally constraining in all circumstances. Through extensive play, I’ve found that color restrictions generally pose more significant placement limitations than number values, particularly in the mid-to-late game.
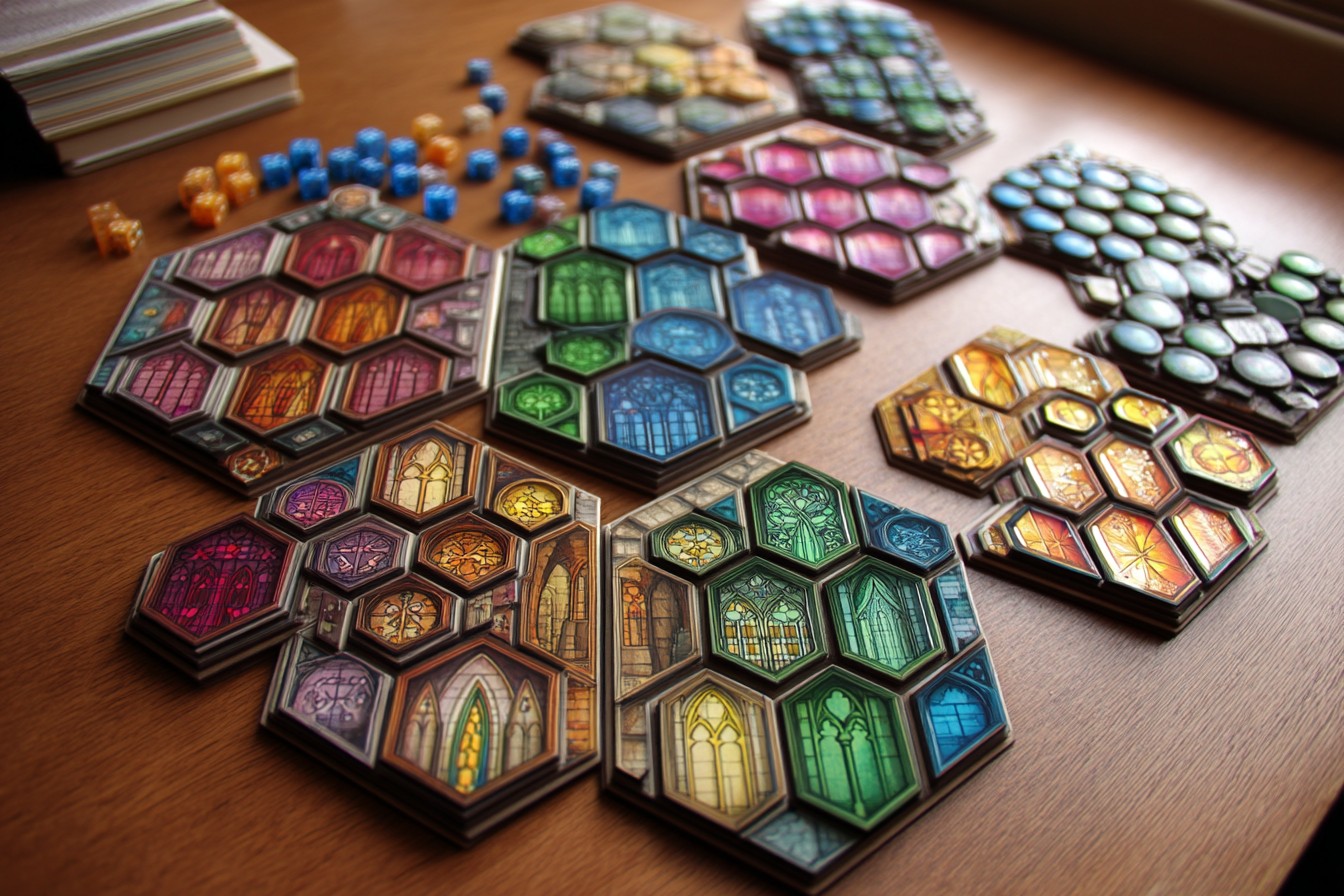
This hierarchy emerged clearly during a game where I’d chosen the Batllo window (a challenging pattern with many specific color requirements). By round three, I found myself with several spaces that required specific colors, but with flexible number requirements. Meanwhile, Pete, who was playing with Luz Celestial (a pattern with many number restrictions but few color requirements), had much greater drafting flexibility. He could take dice of any color as long as they had the right numbers, while I was limited to specific colors regardless of their values. The difference in our final scores—his completed window versus my three empty spaces—highlighted this constraint disparity dramatically.
Early game drafting should focus on what I call “high-constraint intersections”—those spaces on your window where both color and number are specifically restricted. These spots typically appear where colored spaces on your pattern also show specific number values. Filling these spaces early provides maximum flexibility for subsequent placements, as they represent the most restrictive requirements in your window.
I developed this approach after several frustrating games where I’d left these doubly-restricted spaces until late in the game, only to find myself unable to place anything as the available dice dwindled. During one particularly memorable game with my Tuesday night group, I deliberately focused on filling all my red-5 and yellow-2 spaces (the most restrictive spots in my pattern) within the first two rounds. This early constraint elimination allowed me much greater placement flexibility in the end game, resulting in a fully completed window while others struggled with unfillable spaces.
The importance of adjacency restrictions increases as your window fills. In the early game, with few dice placed, adjacency rarely limits your options. By mid-game, however, the orthogonal and diagonal placement restrictions significantly narrow your choices. Effective drafting must anticipate these emerging constraints by selecting dice that maintain placement options as your window develops.
Linda, who approaches Sagrada with remarkable spatial planning abilities, taught me a valuable technique she calls “island development.” Rather than building outward from a single starting point (which quickly creates adjacency limitations), she establishes separate “islands” of dice in different regions of her window. These isolated placements provide multiple growth directions, delaying the point at which adjacency restrictions become severely limiting. I’ve adapted this approach to my own play with considerable success, finding that three distinct placement regions typically optimizes flexibility throughout the game.
Public objectives fundamentally alter the value hierarchy of dice, creating situational priorities that may override the basic constraint considerations. In a typical game with three public objectives, these shared goals often create conflicting incentives that require careful balancing. I’ve found that prioritizing two out of three public objectives, rather than attempting to maximize all three, generally yields better results.
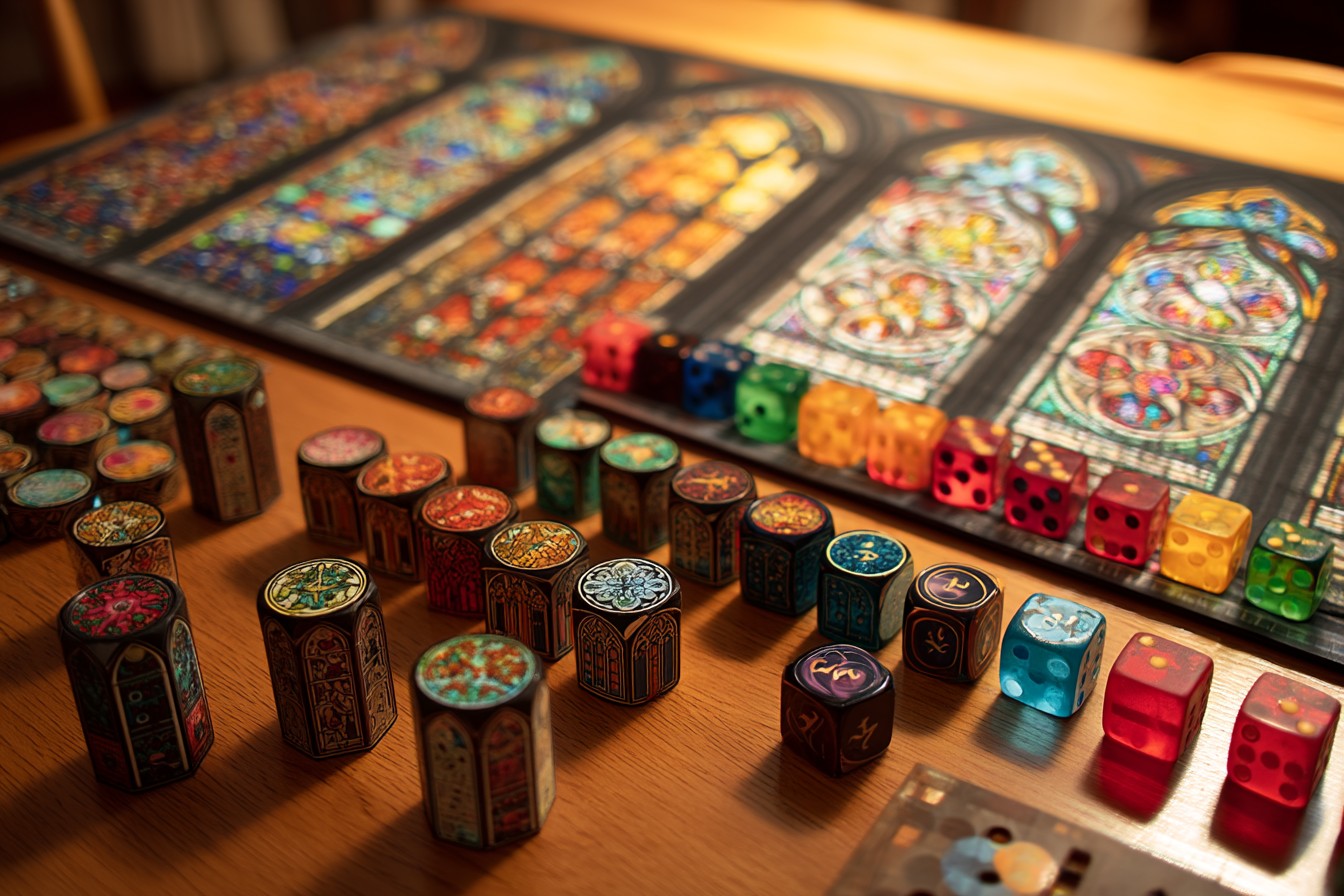
I recall a game where the public objectives included “sets of 5-6” (each set worth 2 points), “columns with no repeated colors” (5 points per column), and “colored diagonals” (1 point per die). After initial analysis, I decided to focus entirely on the columns and diagonal objectives while ignoring the 5-6 sets. This deliberate deprioritization allowed me to make more consistent progress toward the higher-value objectives rather than spreading my efforts too thin. The resulting 27 points from public objectives far exceeded what I could have scored with a more balanced approach.
Private objectives introduce another layer of strategic consideration, often pulling in directions different from both your window restrictions and the public objectives. Finding the sweet spot where your private color objective aligns with your other priorities represents one of Sagrada’s core challenges. I’ve developed what I call the “value multiplier” approach, where I particularly prioritize dice that simultaneously advance multiple objectives.
During a recent game, my private objective was blue dice, one of the public objectives was “sets of 1-2,” and my window pattern had several spaces requiring low values. This created a perfect synergy for blue 1s and 2s, which became my highest priority draft targets. Each such die would advance my private objective, contribute to the public objective, and fit my window restrictions. By identifying these multi-purpose dice early, I was able to draft them before opponents recognized their value to my strategy.
Tool cards introduce yet another strategic dimension, potentially altering the entire approach to drafting and placement. Effective tool utilization requires both understanding when tools are worth their favor cost and adapting your drafting strategy to capitalize on their benefits. Some tools, like the Grozing Pliers (change a die value by ±1) or the Flux Brush (reroll a die), are most valuable in the mid-to-late game when specific requirements become more critical. Others, like the Lathekin (place two dice) or Running Pliers (immediately place another die), provide tempo advantages that can shape your entire game plan.
I’ve found that successful tool utilization often involves drafting dice that would otherwise be suboptimal, knowing that the tool will transform them into perfect fits. During a game where I had early access to the Grozing Pliers, I deliberately drafted 3s and 5s when I needed 2s and 4s, using the tool to adjust them as needed. This approach gave me effective access to a wider range of values than my opponents, who were limited to the exact values shown on the dice.
My colleague Jim, who approaches Sagrada with an almost mathematical precision, once mapped out the theoretical maximum utility of each tool card based on window patterns and objectives. While this level of analysis might seem excessive, his insight that certain tool/window combinations create disproportionate advantages has influenced my strategy ever since. The Cork-backed Straightedge, for instance, becomes significantly more valuable with window patterns that have many empty spaces along the edges, while the Running Pliers provide outsized benefits when playing patterns with highly specific placement requirements.
The draft direction alternation between rounds creates interesting tactical considerations that many players overlook. Knowing which player will draft before and after you in each round can inform both your current selections and your planning for subsequent rounds. In a four-player game, the player two seats away from you will always have the same relationship to your drafting position—if they draft just before you in odd-numbered rounds, they’ll draft just after you in even-numbered rounds. This pattern allows you to anticipate which dice may be taken before your turn based on opponents’ developing windows and objectives.
My friend Sarah, who consistently performs well in our Sagrada games, pays particular attention to these positional relationships. “I’m always watching what the player across from me needs,” she explained after a particularly decisive victory, “because their priorities in this round tell me what I need to grab in the next round before they get another chance.” This forward-looking approach to the shifting draft order adds another layer of depth to what initially appears to be a straightforward drafting mechanism.
Window coverage strategy—how you distribute dice across your pattern—involves both tactical placement and psychological elements. I’ve found that creating an impression of progress toward public objectives can influence opponents’ drafting choices, sometimes causing them to prioritize blocking your perceived strategy over advancing their own. This creates opportunities to misdirect through deliberate placement patterns.
Pete, probably the most psychologically-oriented player in our group, excels at this aspect of Sagrada. During one memorable game, he placed several yellow dice in a column pattern that suggested he was pursuing the “columns of non-repeated colors” objective. The rest of us began avoiding leaving yellow dice for him, only to discover in final scoring that his private objective was yellow and he had been accumulating them for that purpose all along. His deliberate placement created a misconception that effectively camouflaged his actual strategy.
The balance between aggressive and defensive drafting shifts throughout the game. In early rounds, with abundant dice and few placements, aggressive drafting that advances your own objectives typically yields better results. As the game progresses and windows fill, defensive drafting—selecting dice primarily to deny opponents—becomes increasingly valuable. Understanding when to make this transition represents one of Sagrada’s subtler strategic elements.
I remember a particularly intense game with Linda where we both recognized that the final round would come down to specific dice colors and values. Rather than focusing on optimizing my own window, I spent the entire final round drafting dice that she needed for her last few spaces. She did the same to me, resulting in both of us leaving spaces unfilled. “That was just spiteful,” she commented as we counted final scores. Perhaps, but it was also strategically sound—denying her completion points and public objective opportunities was mathematically the correct play, even at the cost of some minor improvements to my own window.
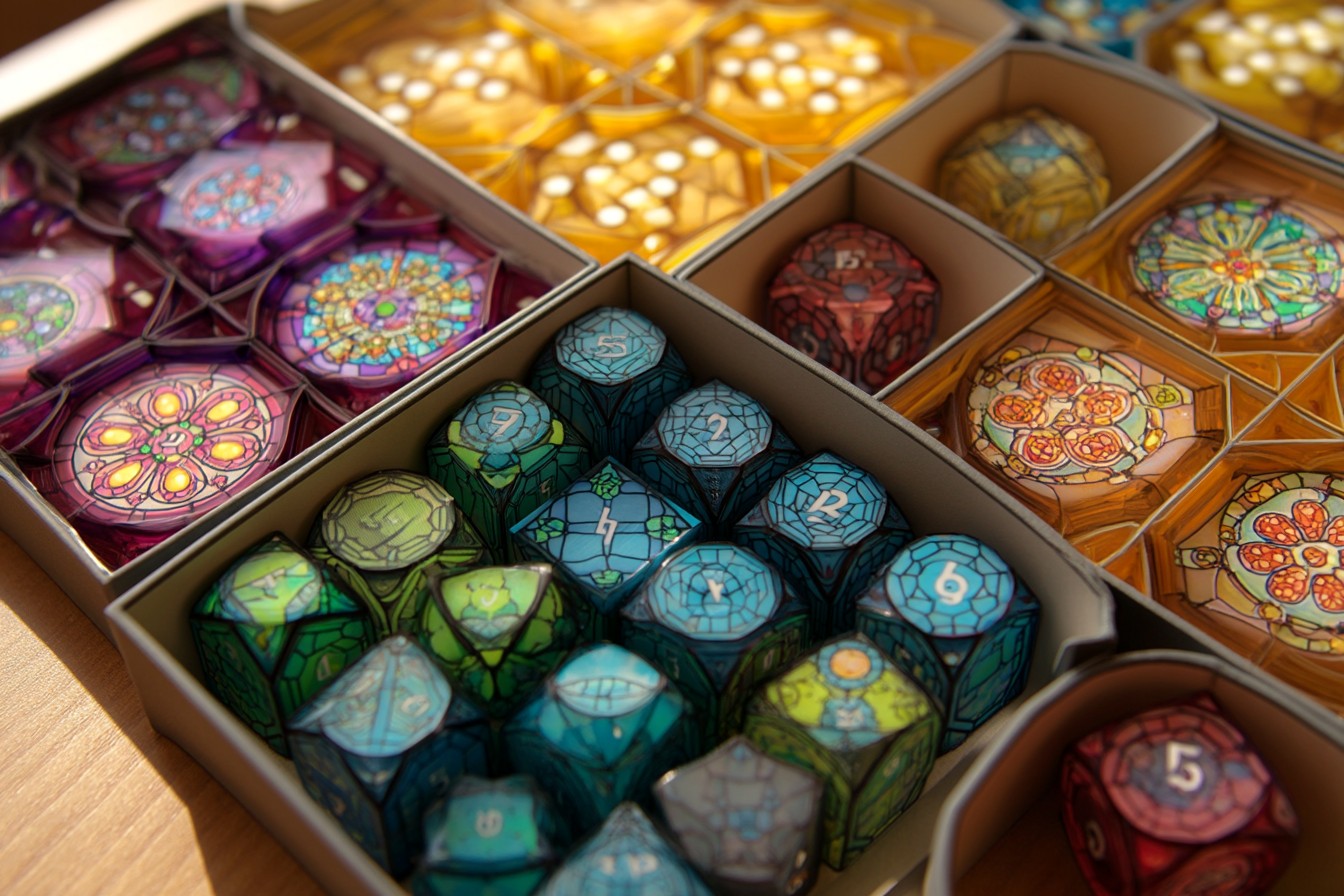
Color distribution awareness across rounds can inform more effective long-term drafting strategies. Each game of Sagrada uses exactly 18 dice of each color, distributed randomly throughout the game. By tracking which colors have appeared more or less frequently, you can anticipate potential scarcity in later rounds and adjust your drafting priorities accordingly.
This practice became second nature after a particularly frustrating game where three of my final empty spaces required green dice, only for the final round to reveal just a single green die among the draft pool. Since then, I’ve made a habit of doing a quick color count after each round, noting any significant imbalances that might affect future availability. This awareness has repeatedly helped me avoid committing to color requirements that would be difficult to fulfill based on the remaining distribution.
Value distribution follows similar patterns, with exactly 90 dice values in the game (18 dice × 5 values). However, the random distribution means that specific values can be unusually abundant or scarce in particular games. Recognizing these emerging patterns allows for drafting adjustments that capitalize on unusual value distributions.
During a recent game, our draft pools across the first two rounds contained an abnormally high number of 5s and 6s. Recognizing this pattern, I shifted my placement strategy to prioritize high-value spaces in my window and focus more heavily on the “sets of 5-6” public objective. This adaptability to the emerging value distribution resulted in a significantly higher score than if I’d adhered to my initial strategy, which had assumed a more balanced distribution of values throughout the game.
Draft pool evaluation involves not just assessing which dice you want, but also which dice your opponents need. The optimal draft choice isn’t always the die that best fits your window; sometimes it’s the die that would provide disproportionate value to an opponent. This relative value assessment becomes particularly important in the later rounds when each placement carries greater significance.
In a tight game with Mark, who was pursuing a red-focused private objective, I found myself choosing between a red-3 that fit perfectly in my window and a blue-4 that was slightly less optimal for me. Noticing that Mark had several spaces where only a red-3 would work, I drafted it despite the suboptimal fit in my own window. The defensive value of denying him that specific die outweighed the marginal improvement it would have provided to my own score.
Terminal placement planning—thinking about which spaces you want to leave empty if necessary—represents a subtle aspect of advanced Sagrada strategy. Not all empty spaces are equally costly; some positions impact public objectives more severely than others, and some create more significantadjacency restrictions throughout the game. Identifying these high-impact spaces early allows for more informed drafting priorities.
I developed this approach after several games where I completed most of my window but left empty spaces in positions that disproportionately affected scoring. Now I make a habit of identifying the “worst spaces to leave empty” at the beginning of each game, based on both the window pattern and the public objectives. These spaces receive priority in my drafting and placement strategy, even if filling them sometimes requires compromising on other objectives.
Tempo considerations add another dimension to effective drafting. Each round in Sagrada offers a fixed number of drafting opportunities based on player count. Understanding how to maximize value from these limited actions—particularly when tool cards allow for tempo advantages—can create significant scoring differentials over the course of a game.
My colleague Dave, who approaches games with rigorously logical analysis, once commented that Sagrada is fundamentally an efficiency puzzle—how to extract maximum value from exactly 10 dice placements (in a standard game). This perspective has influenced my appreciation for tools like Lathekin or Running Pliers, which effectively increase your action count. In games where these tools are available, I frequently adjust my drafting to prioritize gaining this tempo advantage, even if it means making temporarily suboptimal placements.
After all these games and all this analysis, perhaps the most important insight I’ve gained is that effective dice drafting in Sagrada isn’t about perfect optimization—it’s about balanced adaptability. The perfect window isn’t one that maximizes any single objective, but one that finds harmonious integration between pattern requirements, public goals, private objectives, and tool utilization. There’s something deeply satisfying about completing a window that tells a coherent visual story while scoring well across multiple dimensions.
I still get that little surge of pleasure when the final die clicks perfectly into place, completing a pattern that balances vibrant colors and elegant numerical sequences. For all its strategic depth, Sagrada remains a fundamentally aesthetic experience—one where the beauty of the completed windows matters as much as the points they generate. That’s why it remains in my top five games after all these years—the perfect blend of tactical challenge and artistic satisfaction.
And honestly, isn’t that tension between structure and creativity what actual stained glass artisans must feel? Working within the constraints of materials and architectural requirements while striving to create something beautiful seems like the perfect metaphor for Sagrada’s gameplay. Perhaps that’s why my “Sagrada squint” persists—I’m not just calculating points; I’m envisioning the light streaming through my completed window, creating patterns both mathematically sound and visually striking.
Now if you’ll excuse me, I need to go set up another game. I have a theory about the Flux Brush that I’m dying to test, and Linda has been asking for a rematch since our last session ended with that somewhat spiteful final round. After all, there’s always another window pattern waiting to be perfected.


Leave a Reply