Author: carl

  • My City: Permanent Building Placement Decisions That Won’t Haunt Future Episodes

    My City: Permanent Building Placement Decisions That Won’t Haunt Future Episodes

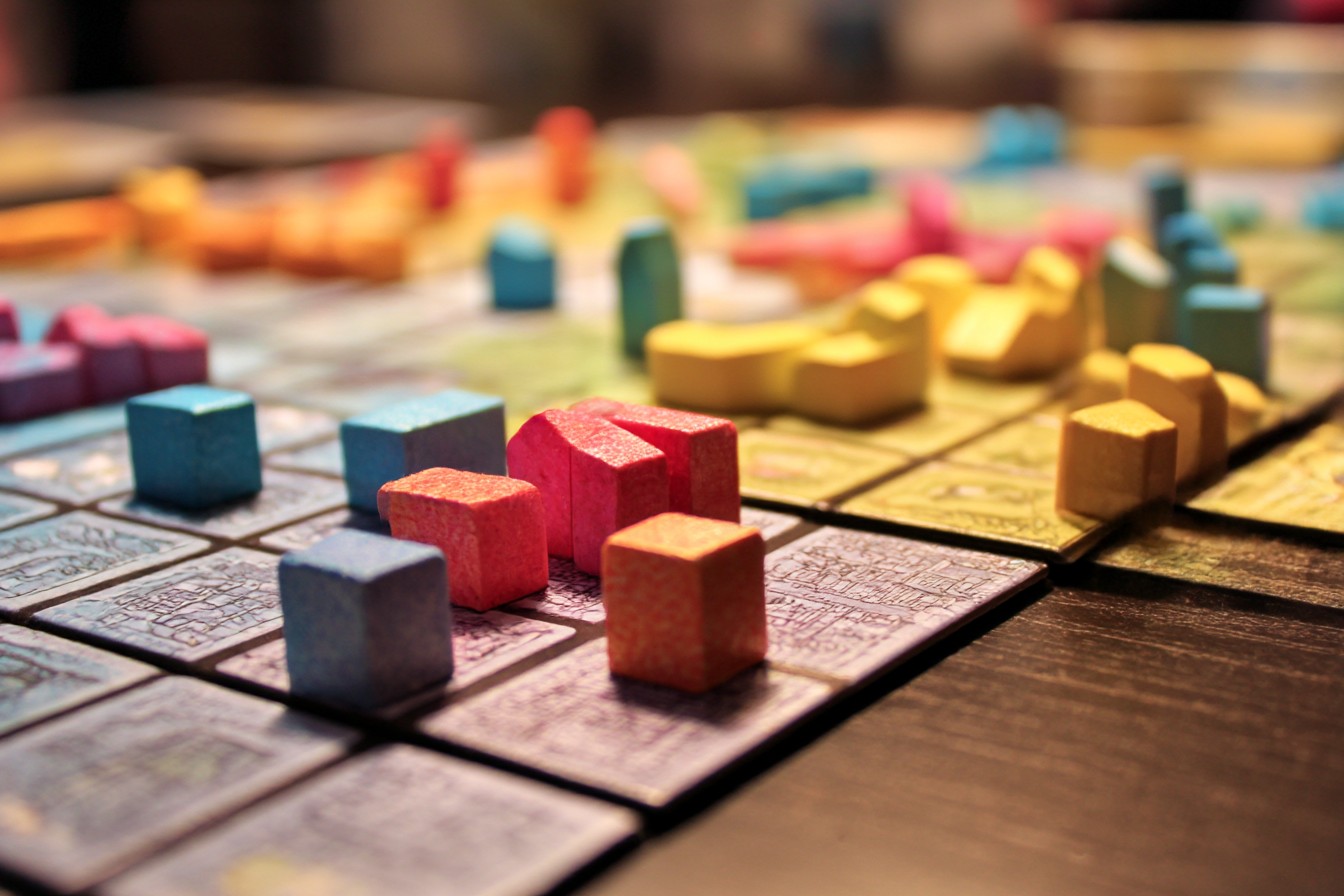
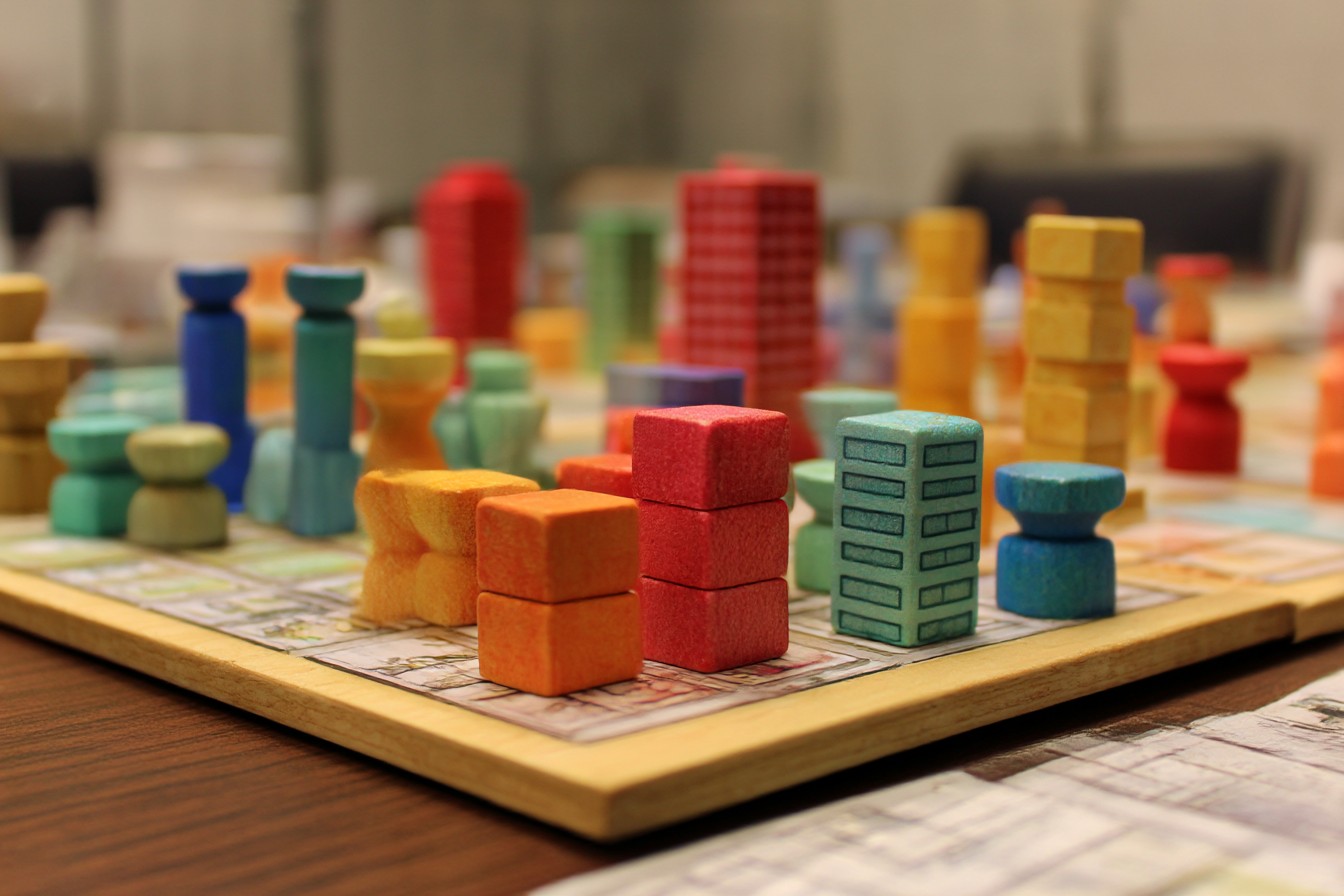
    The first time I cracked open My City, I made a rookie mistake. I got so excited about the immediate puzzle of fitting buildings onto my personal board that I completely missed the bigger picture. Three games later, my wife Linda was smugly tallying her points while I stared mournfully at a city that looked like it had been designed by a committee of drunk city planners with conflicting agendas. “This,” I announced to our gaming group, “is going to haunt me for the rest of the campaign.”

    And it did. That’s the beauty and the terror of legacy games, isn’t it? Your decisions don’t just affect the next hour—they follow you for weeks or months of gameplay. My City takes this concept and distills it into something deceptively simple: a polyomino placement game where each building you add becomes permanent, for better or worse.

    I’ve played through the full campaign twice now (yes, I bought a second copy—don’t judge me), and I’ve helped numerous readers navigate their own journeys through Reiner Knizia’s cleverly evolving city-builder. What I’ve learned is that there’s a delicate balance between scoring well now and setting yourself up for future success. It’s not just about maximizing points in the current episode—it’s about making decisions your future self won’t curse you for.

    im1979_My_City_Permanent_Building_Placement_Decisions_That_Wo_1c33920c-f94e-4e78-aed1-da373c80f3a7_0

    The campaign structure makes this particularly challenging. You’re initially working with limited information—you know certain scoring conditions for the current episode, but you’re not entirely sure how the game will evolve. This creates a fascinating tension between immediate optimization and leaving yourself flexibility for whatever comes next.

    During my second campaign, we played with another couple who approached the game completely differently than we did. James, an architect by training (which you’d think would give him an advantage), focused entirely on maximizing each individual episode. His wife Sara took a more balanced approach. By episode 8, the difference was striking—Sara’s city had coherent districts with space for future development, while James had painted himself into several corners with buildings that scored well initially but created awkward gaps and limitations.

    So what lessons have I learned from these two playthroughs that might help you avoid my first-game mistakes? Let me share some thoughts (without specific spoilers for those who haven’t started their campaigns yet).

    First and most important: respect the river. The central river running through your board isn’t just a scenic feature—it’s the backbone of your entire city development. In my first campaign, I treated it almost as an annoying obstacle, placing buildings right up against its edges whenever possible to maximize immediate space usage. Big mistake. The river areas end up being critically important in multiple ways throughout the campaign, and having breathing room along its banks gives you strategic flexibility that you’ll definitely want later.

    Next, consider building in clusters by type from the beginning, even if there’s no immediate scoring benefit. I can’t tell you exactly why (spoilers!), but trust me on this one. Having your residential buildings somewhat grouped, your commercial structures in their own district, etc., will serve you well as new rules and scoring conditions emerge. Think about it like real urban planning—there’s a reason we don’t typically build factories next to elementary schools.

    im1979_My_City_Permanent_Building_Placement_Decisions_That_Wo_1c33920c-f94e-4e78-aed1-da373c80f3a7_1

    My friend Tom, who’s played through the campaign three times (and yes, we tease him mercilessly about it), has a theory he calls the “40% rule”—never fill more than 40% of any quarter of your board during the first third of the campaign. This creates a nice balance between scoring enough to stay competitive while maintaining flexibility for future episodes. I’ve found this to be pretty solid advice.

    Something that’s easy to overlook: the permanent buildings you place are, well, permanent—but the SPACES between them are just as important. In episode 4 of my second campaign, I had a moment of clarity when I realized I wasn’t just placing buildings; I was also creating the negative space that would constrain all my future decisions. This shifted my thinking from “how do I fit this piece optimally now?” to “what pattern of open spaces will this leave me with?”

    Linda, by the way, is annoyingly good at this game. Her background in quilting gives her an intuitive sense of pattern recognition and spatial relationships that I can’t match despite my supposedly analytical mind. During our second campaign, she developed what I now call the “edge strategy”—she consistently left the outer edges of her board more open than the center, creating a flexible perimeter that could adapt to whatever new scoring conditions emerged. It worked brilliantly.

    The hardest skill to develop—and I’m still working on this—is knowing when to deliberately take a short-term point hit for long-term gain. In episode 7 of my second campaign, I passed up a placement that would have scored me an extra 4 points because it would have created an awkward 3-space gap that I knew would be nearly impossible to fill efficiently later. My gaming group thought I was crazy… until two episodes later, when that flexibility allowed me to place a new building type perfectly while they all struggled with their constrained boards.

    The stickers that mark permanent buildings create such an interesting psychological effect too. In most games, a suboptimal move is forgotten as soon as the game ends. In My City, that building sits there, game after game, silently judging you. During our first campaign, James developed what we called his “building of shame”—a poorly placed structure from episode 3 that he had to work around for the rest of the campaign. It became a running joke, with someone inevitably pointing to it each game and asking, “How’s that working out for you, James?”

    im1979_My_City_Permanent_Building_Placement_Decisions_That_Wo_1c33920c-f94e-4e78-aed1-da373c80f3a7_2

    Weather is another element that can trip up new players. The alternating sunny and rainy weather from episode to episode creates a rhythm to the campaign that rewards thinking ahead. After a sunny episode, you KNOW the next one will be rainy, which affects scoring in established patterns. Use this knowledge! I’ve seen too many players optimize purely for the current weather and then struggle in the following episode.

    One of the most satisfying aspects of the game is seeing how your city develops its own character over time. By the end of our second campaign, each player’s board told a story. Sara’s city was beautifully balanced with distinct districts. James had a city with brilliant individual areas but awkward transitions between them. Linda’s had an elegant flow that somehow managed to adapt to each new challenge. And mine? Well, it was definitely better than my first attempt, but still had that one questionable district where I’d gotten greedy in episode 5 and paid for it thereafter.

    If you’re just starting your My City journey, I envy you. There’s something magical about watching your city evolve over the course of the campaign, with each permanent decision adding to its unique character. Just remember—that building you’re about to place isn’t just scoring points today. It’s shaping all your future decisions in ways you can’t fully predict.

    I’d love to offer more specific strategic advice, but the joy of legacy games is in discovering their evolving nature yourself. What I can tell you is that a balanced approach, respecting the river, building in logical clusters, maintaining flexibility through careful management of open spaces, and occasionally sacrificing short-term gains for long-term potential will serve you well.

    And hey, even if you make mistakes (and you will), that’s part of the fun. Those suboptimal buildings that haunt you for the rest of the campaign? They become part of your city’s story. My gaming group still brings up “The Great Tree Fiasco of Episode 9” from our first campaign, when we all misunderstood a new rule and made placements we regretted for the remaining episodes.

    The legacy nature of My City captures something true about real urban development—cities aren’t built in a day, and they carry the marks of both wise planning and regrettable decisions in their final form. Just like real cities, there’s no such thing as a perfect final board, only the unique metropolis that emerges from your series of choices, constraints, and occasional lucky draws.

    Now if you’ll excuse me, I need to go check if there’s a third copy of the game on sale anywhere. I’ve got some new theories I want to test out…

  • Merchants of the Dark Road: Caravan Planning in Perpetual Darkness

    Merchants of the Dark Road: Caravan Planning in Perpetual Darkness

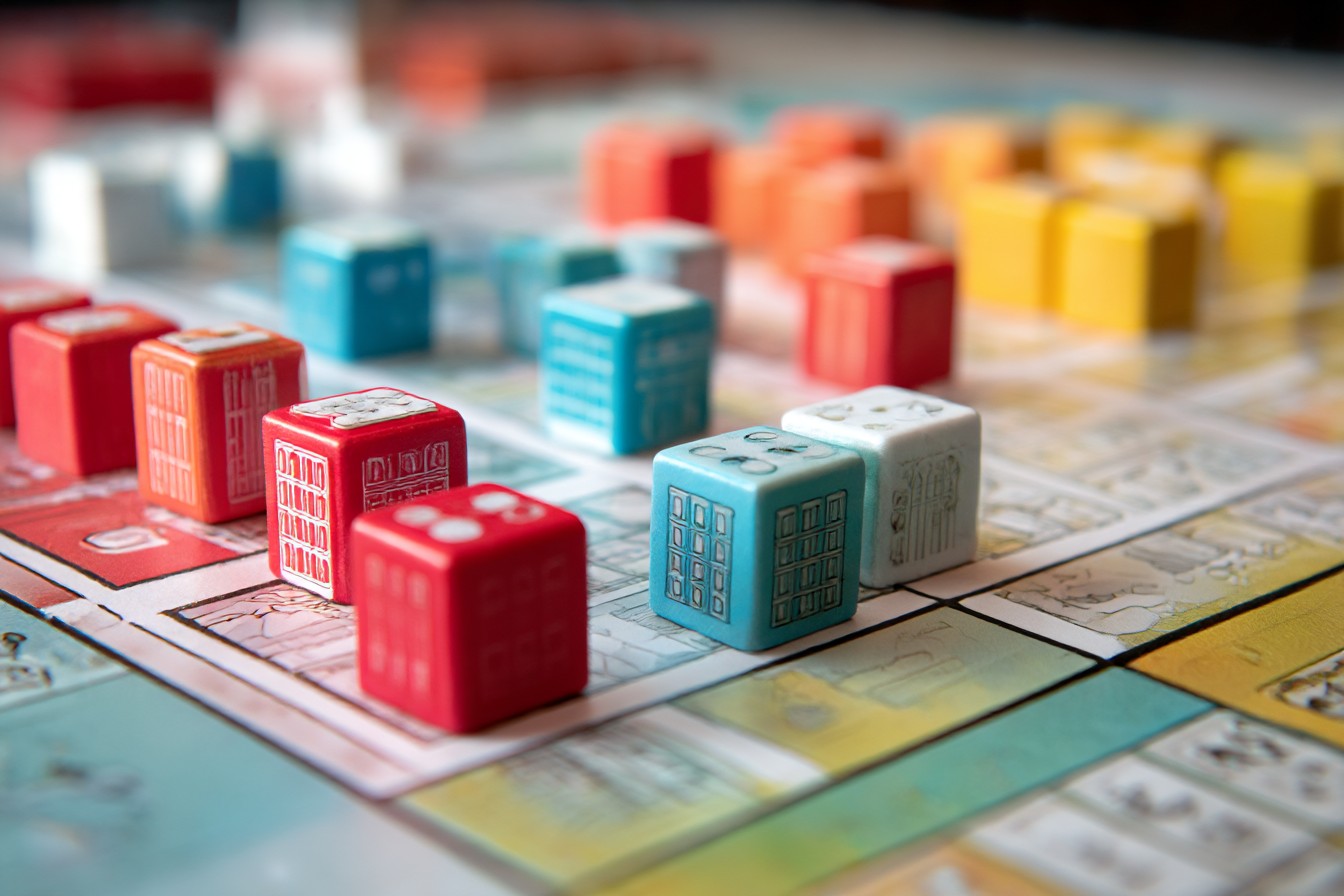
    I first encountered Merchants of the Dark Road at a small convention in Minneapolis—the same city where my board game journey began all those years ago with Settlers of Catan. It was tucked away at a demo table in the back corner, the box art catching my eye with its moody blues and the warm glow of lantern light. The demonstrator, a bearded fellow with enthusiasm that could power a small city, described it as “a pick-up-and-deliver game with a twist—eternal darkness.” Twenty minutes into his explanation, I was mentally rearranging my schedule to make sure I got a full play in before the convention ended.

    The game didn’t make it into my collection until about eight months later. Linda had instituted her infamous “one-in-one-out policy” for shelf space, and I wasn’t quite ready to part with anything. Then my birthday rolled around, and there it was—wrapped in paper covered with little meeples that my daughter had drawn by hand. My family knows me well. By midnight, we’d played our first full game, with me fumbling through rule explanations while trying not to sound too excited about lantern mechanics and caravan optimization.

    After 27 plays (yes, I keep a log—don’t judge me), I’ve developed some approaches to caravan planning that consistently yield good results. Not that winning is everything, but understanding the game’s underlying systems makes for more satisfying play experiences all around. At least that’s what I tell my son when he groans as I break out the spreadsheet I use to track different strategies.

    im1979_Merchants_of_the_Dark_Road_Caravan_Planning_in_Perpetu_8c963e28-2a87-4124-90af-c2826462b5b1_0

    The central challenge in Merchants of the Dark Road is navigating the risk-reward balance of traveling through a kingdom shrouded in perpetual darkness. It’s like planning a road trip where every highway has broken streetlights and the gas stations might randomly close—except with more fantasy elements and fewer restroom breaks. Though sometimes the tension of a particularly risky journey does make bathroom visits more urgent. Just saying.

    Let’s start with what I consider the foundation of successful merchant journeys: lantern management. New players often underestimate the importance of those little light tokens, treating them as a secondary resource rather than the game’s lifeblood. In my first few games, I repeatedly found myself stranded in darkness, watching helplessly as other merchants zoomed past with their well-lit caravans. It was during our fifth game, while stuck between two cities with an empty lantern and valuable goods I couldn’t deliver, that the importance of light planning finally clicked.

    I’ve since developed what my gaming group calls “Mitchell’s Illumination Rule”—never, under any circumstances, end your planning phase without calculating your exact lantern needs for the journey plus a two-token buffer. That buffer has saved me more times than I can count, especially when unexpected events force route changes or when another player snatches the last available lantern-refill action just before your turn. Kevin from my Tuesday group still brings up the time I lectured everyone about lantern buffers right before ignoring my own advice and ending up stranded. He’s never going to let me live that down.

    Route planning in Merchants is equally crucial and considerably more complex than in most pick-up-and-deliver games. The shifting demand for goods creates a constantly evolving puzzle that rewards flexibility as much as foresight. I track successful delivery patterns across games (Linda calls this “excessive” but I prefer “thorough”) and have found that the most profitable routes aren’t necessarily the longest ones—they’re the ones that align most closely with current market demands while minimizing unnecessary lantern usage.

    In a particularly memorable game last winter, I secured a narrow victory by focusing exclusively on short, high-demand deliveries while my opponents committed to longer journeys. They covered more ground and made fewer total deliveries, but my targeted approach yielded higher per-delivery profits and conserved precious lantern light. The looks on their faces when I revealed my final score was priceless—a mixture of surprise and grudging respect, followed quickly by demands to examine my delivery tokens to ensure I wasn’t cheating. I wasn’t, for the record. My victories are always legitimate, if occasionally perplexing to those who haven’t yet grasped the mathematical beauty of optimized trade routes.

    im1979_Merchants_of_the_Dark_Road_Caravan_Planning_in_Perpetu_8c963e28-2a87-4124-90af-c2826462b5b1_1

    The caravan upgrade system introduces another layer of strategic consideration. Those upgrade slots aren’t just nice bonuses—they’re essential tools for crafting a coherent merchant strategy. I’ve observed three distinct approaches to caravan development that yield consistently strong results: the Lantern Conservationist (focusing on upgrades that reduce light consumption), the Cargo Master (maximizing goods capacity and flexibility), and the Swift Trader (emphasizing movement efficiency and action advantages).

    My personal preference leans toward a hybrid of the Lantern Conservationist and Cargo Master approaches. By reducing light requirements while increasing carrying capacity, you create a caravan that can make multiple deliveries on a single journey without constantly worrying about running out of light. My son, conversely, swears by the Swift Trader approach, zipping around the board with fewer goods but completing deliveries at a blistering pace. Our head-to-head games have been surprisingly close, suggesting multiple viable paths to merchant success—one of the hallmarks of excellent game design, in my opinion.

    Reputation management represents yet another crucial aspect of Merchants of the Dark Road that new players often overlook. Those reputation points aren’t just victory points—they’re a resource that opens up strategic options throughout the game. In our third play, I discovered the power of early reputation building when I gained access to a particularly valuable noble delivery that none of my opponents could fulfill. That single delivery provided both substantial points and a caravan upgrade that shaped my strategy for the remainder of the game.

    Since then, I’ve made reputation a priority in the early game, sometimes even accepting less profitable deliveries specifically for the reputation boost. This approach creates a positive feedback loop: more reputation leads to better delivery opportunities, which in turn generate more reputation. It’s like building good credit—boring at first, but incredibly valuable once established. The parallels to financial planning are not lost on Jim from accounting, who always points them out at length. Thanks, Jim.

    The noble patron system adds a fascinating wrinkle to delivery prioritization. Those distinguished passengers aren’t just fancy victory point packages—they’re strategic tools that can dramatically alter your merchant’s capabilities. I’ve found that selecting nobles whose abilities complement your caravan’s strengths while offsetting its weaknesses yields the best results. In one game, I paired a noble who provided additional light with my cargo-focused caravan to create a delivery powerhouse that could transport massive quantities of goods across long distances without light concerns.

    im1979_Merchants_of_the_Dark_Road_Caravan_Planning_in_Perpetu_8c963e28-2a87-4124-90af-c2826462b5b1_2

    Timing your market activities represents another subtle but significant aspect of merchant strategy. The fluctuating values of different goods create opportunities for savvy traders who can anticipate market shifts. I’ve developed a habit of studying the market board at the beginning of each round, identifying goods likely to increase in value, and adjusting my collection and delivery plans accordingly. This approach occasionally requires passing on immediate delivery opportunities in favor of holding goods for future rounds when their value increases—a counterintuitive strategy that has nonetheless secured several narrow victories.

    Weather effects introduce an element of randomness that can frustrate careful planning, but I’ve found that treating weather as an opportunity rather than an obstacle often yields surprising benefits. When heavy snow slows movement, I pivot to shorter routes with higher-value goods. When clear skies boost travel speeds, I adjust to longer deliveries that maximize the favorable conditions. The key is adaptability—rigid adherence to a single strategy regardless of conditions is the surest path to mercantile failure.

    The interaction between players adds another layer of complexity to caravan planning. Unlike some pick-up-and-deliver games where players operate in relative isolation, Merchants creates numerous opportunities for both hindrance and indirect cooperation. Watching other merchants’ collection patterns provides valuable intelligence about potential market shifts and delivery opportunities. In a game last month, I noticed Linda focusing heavily on luxury goods, signaling their likely increased value in future rounds. I adjusted my own collection strategy accordingly and managed to capitalize on the price spike just before she could bring her goods to market. The look she gave me suggested I might be making my own dinner for the next week. Worth it, though.

    If I could distill my approach to Merchants of the Dark Road into a single principle, it would be this: successful merchants think in complete journeys, not individual actions. Each decision—from goods collection to route planning to upgrade selection—should serve a coherent strategy that maximizes efficiency across entire delivery cycles. A seemingly suboptimal action can be the right choice if it sets up a highly profitable sequence in subsequent turns.

    During our family vacation last summer, we brought Merchants along (it fits perfectly in a suitcase if you remove the insert, though Linda insists this level of game transport planning is “concerning”). After several vacation plays, my teenage daughter captured this principle perfectly when she said, “It’s like chess—you’re not playing for this move, you’re playing for three moves ahead.” She proceeded to demolish us all with a brilliantly executed delivery chain that none of us saw coming. I’ve never been prouder, or more thoroughly defeated.

    The rhythm of Merchants of the Dark Road creates distinct phases across the game’s arc. Early rounds typically focus on establishing your mercantile infrastructure—securing key upgrades, building initial reputation, and testing different delivery patterns. Mid-game turns toward efficiency optimization—refining routes, aligning with market demands, and accumulating resources for major delivery chains. The end-game often becomes a race to capitalize on final scoring opportunities while managing increasingly scarce resources.

    Understanding this rhythm helps inform strategic pivots at crucial junctures. In a recent game that came down to the final turn, I abandoned my carefully cultivated delivery chain to make a single high-value noble delivery that secured just enough points for victory. Had I stubbornly stuck to my original plan, I would have finished a distant third. Sometimes the best-laid caravan routes must be abandoned when a better opportunity emerges from the darkness.

    Merchants of the Dark Road continues to hit our table regularly despite the ever-growing collection threatening to collapse our shelves. There’s something uniquely satisfying about planning the perfect journey through perpetual darkness, navigating both physical and economic obstacles to emerge as the kingdom’s premier merchant. Plus, I’m still convinced there’s an optimal caravan configuration I haven’t quite discovered yet. Maybe after another dozen plays, I’ll find it. Linda just sighed audibly when I said that out loud. She knows me too well.

  • LUNA Capital: Lunar Base Construction for Maximum Infrastructure Value

    LUNA Capital: Lunar Base Construction for Maximum Infrastructure Value

    I remember the first time I played LUNA Capital at my Tuesday game night. We’d just finished a particularly grueling session of Twilight Imperium that had stretched across the previous weekend (17 hours, if you’re curious, with breaks only for pizza and bathroom visits). Someone—I think it was Kevin from my regular group—suggested “something lighter” and pulled out this lunar colony building game that had been sitting unopened on my shelf for about three weeks.

    “Looks pretty straightforward,” I muttered as I skimmed the rulebook while Linda made coffee in the kitchen. “Tile placement with some spatial puzzley bits.” Little did I know I was about to discover one of the most elegantly balanced tableau builders I’d played in years. By the end of that first game, I was already mapping optimal facility arrangements in my head as I drove home. You know how it goes—that particular kind of board game obsession where you’re mentally replaying turns while brushing your teeth.

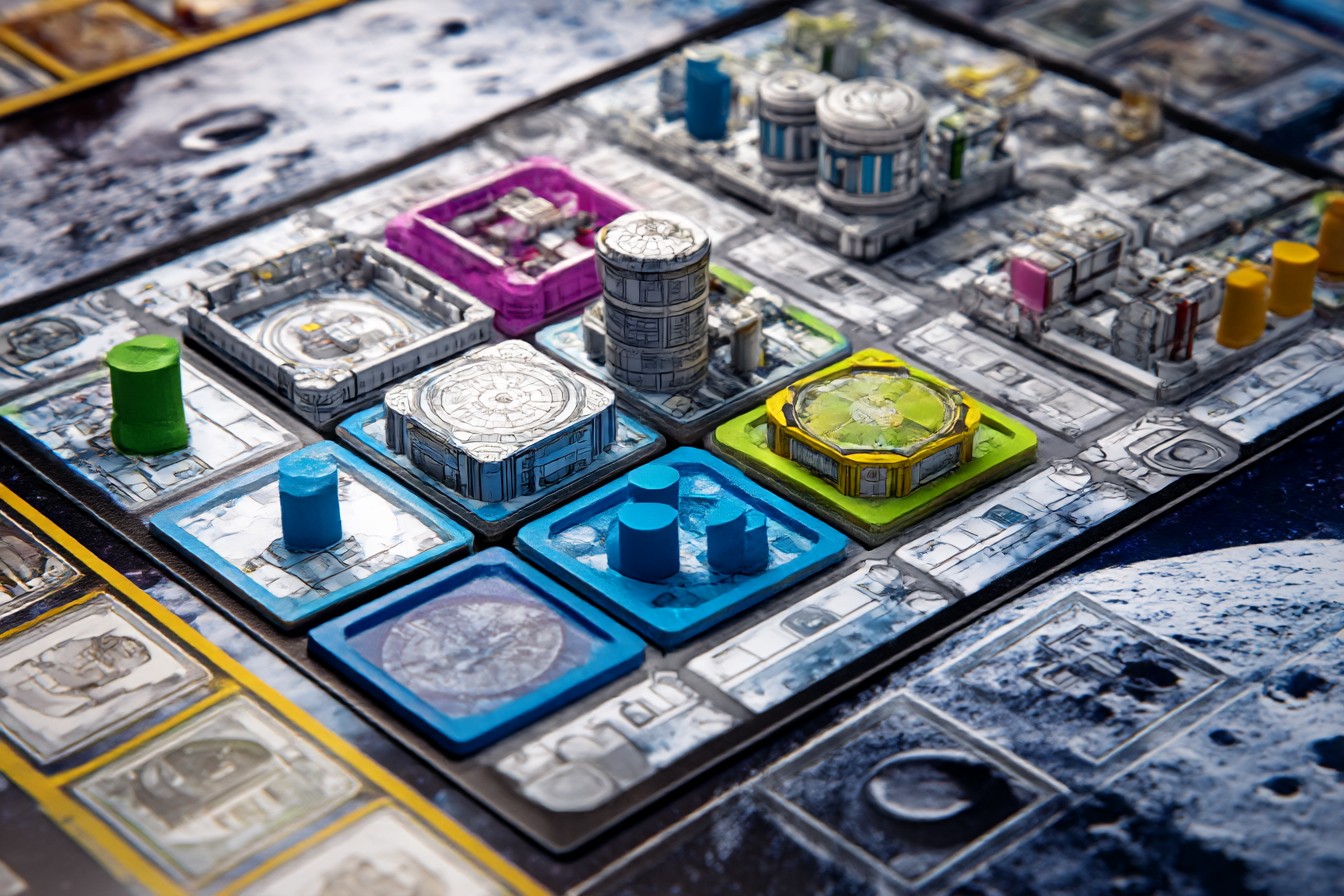
    LUNA Capital is one of those games that seems simple at first glance but reveals surprising strategic depth once you’ve played a few rounds. The premise is straightforward enough: you’re building lunar bases by placing facility tiles and connecting them to resources. But the spatial puzzle of arranging your base for maximum efficiency creates a decision space that’s kept me engaged through dozens of plays.

    im1979_LUNA_Capital_Lunar_Base_Construction_for_Maximum_Infra_d0ce1b4b-1573-4203-b660-45c3561f5fc1_3

    I’ve now logged 37 games of LUNA Capital (yes, I keep track—spreadsheets are your friend in this hobby), and I’ve developed some approaches that consistently produce strong results. Not that winning is everything, but understanding the underlying structure helps everyone have more fun. At least that’s what I tell my opponents when I’m placing that perfect tile that completes two facility groups simultaneously.

    The central challenge in LUNA Capital is balancing immediate point gains against long-term infrastructure development. Think of it like city planning, except on the moon, with considerably less red tape. Though sometimes the competition for certain tiles feels exactly like dealing with a stubborn zoning board.

    Let’s talk about facility arrangement first. The impulse for new players (and I was definitely guilty of this) is to grab the highest-value tiles available each round. But that’s like buying the fanciest kitchen appliances before you’ve got electricity installed—impressive but ultimately not functional. In my early games, I’d end up with a collection of valuable facilities that scored poorly because they weren’t properly connected or grouped.

    After about my fifth game, I started focusing on creating coherent facility groups first and foremost. The scoring multipliers from completing facility groups are where the big points come from. I played a game last month where Kevin (yes, same Kevin) was collecting all the high-value modules while I focused on creating three medium-sized groups of the same facility type. He had the superior base value, but my multipliers put me ahead by 23 points in the final scoring. He hasn’t let me forget it, bringing it up at every game night since. You know how gaming friends can be.

    Resource placement is equally crucial, and this is where I think most intermediate players miss opportunities. Those little resource cubes aren’t just scoring components—they’re the connective tissue of your lunar base. I try to view each resource as serving multiple potential purposes: it scores points for adjacent facilities, yes, but it also creates connections between facilities that might form valuable groups.

    im1979_LUNA_Capital_Lunar_Base_Construction_for_Maximum_Infra_87d05175-4ebb-405c-aec3-83eac6705bb8_0

    In one particularly memorable game (against my son’s girlfriend, who picked up the strategy alarmingly quickly), I managed to place a single resource cube that connected three different facility types, completed a row for mission card scoring, AND fulfilled a blueprint requirement. I may have been a bit too pleased with myself about that one. The girlfriend still beat me by 7 points thanks to some shrewd blueprint selections, which leads me to my next point.

    Blueprint selection might be the most overlooked aspect of LUNA Capital strategy. Those cards aren’t just bonus objectives; they’re strategic signposts telling you which direction to build. I’ve developed what Linda calls my “blueprint first” approach, where I select blueprints early that align with a cohesive base design, rather than trying to retrofit my base to match random blueprints later.

    This approach backfired spectacularly in a game night about two months ago when the blueprint deck seemed personally engineered to thwart me—I drew three blueprints that required completely different base configurations. I still maintain the shuffle was suspicious (looking at you, Jim from accounting, who was dealing that night). I pivoted to a more flexible strategy mid-game, but the damage was done. Finished second-to-last, only beating Linda who was trying a deliberately contrarian strategy involving minimal resource usage that, uh, needs refinement.

    Mission cards introduce another layer of strategic consideration. The temporary scoring opportunities they present can be seductive, but chasing too many missions can fragment your base development. I generally aim to complete 2-3 missions per game, selecting ones that align with my blueprint and facility grouping strategy. Any more than that and I find myself sacrificing long-term scoring for quick points—a trade-off that rarely pays off.

    I tracked my mission completion rate across 20 games and found that focusing on row/column completion missions yielded an average of 4.7 more points per game than focusing on the specific facility arrangement missions. Your mileage may vary, of course, but data doesn’t lie (unless you’re using Excel and forget to update a formula, which I have never done, except that one time during the pandemic game marathon when I had been awake for approximately 36 hours).

    im1979_LUNA_Capital_Lunar_Base_Construction_for_Maximum_Infra_87d05175-4ebb-405c-aec3-83eac6705bb8_1

    The rhythm of LUNA Capital is another aspect worth considering. The three-round structure creates a distinct tempo, with different strategies optimal at different stages. In the first round, I focus on establishing the foundation of my major facility groups and securing at least one achievable blueprint. The second round is about expanding those groups and connecting resources efficiently. By the third round, I’m usually filling gaps, completing blueprints, and making final pushes for mission cards.

    This three-act structure reminds me a bit of Power Grid’s phases, though obviously with very different mechanics. Both games reward players who can adapt their approach as the game progresses and recognize when to shift from foundation-building to optimization.

    If there’s one overarching principle I’ve found for LUNA Capital success, it’s connectivity. Every placement decision should serve multiple purposes, creating a web of interconnected scoring opportunities rather than isolated point sources. A facility that helps complete a group, connects to valuable resources, contributes to a blueprint, AND potentially satisfies a mission card is exponentially more valuable than a high-point tile that sits in isolation.

    The spatial reasoning aspect of LUNA Capital scratches the same itch for me as games like Patchwork or Isle of Cats, but with additional strategic layers that keep it hitting the table month after month. My wife has a theory that I’m drawn to these spatial puzzle games because they engage the same part of my brain that handles database relationship mapping in my day job. She might be onto something there, though I maintain that building a lunar colony is far more entertaining than optimizing healthcare records systems (don’t tell my boss I said that).

    Temperature management (managing the cold side of the moon) is another wrinkle that separates good LUNA Capital players from great ones. Those temperature restrictions can feel punitive at first, but I’ve come to view them as beneficial constraints that force creative solutions. Sometimes limitations breed innovation, both in game design and gameplay.

    I’ve been meaning to do a full statistical analysis of winning strategies across player counts—my preliminary data suggests that resource-heavy strategies perform better at lower player counts, while facility grouping becomes more dominant with more players—but Linda has suggested that might be “taking things a bit far” and “possibly concerning the new people we invited over.” She may have a point. Maybe.

    So there you have it—a glimpse into the strategic landscape of LUNA Capital from someone who’s spent far too many hours contemplating optimal moon base construction. If you take anything away from this, let it be the importance of viewing your base as an interconnected ecosystem rather than a collection of isolated scoring opportunities. Also, never trust Jim from accounting when he shuffles the blueprint deck. Just saying.

  • The King’s Dilemma: Voting Strategy Based on Hidden Agendas

    The King’s Dilemma: Voting Strategy Based on Hidden Agendas

    Our first campaign of The King’s Dilemma started because of a canceled flight. I was supposed to be in Chicago for a healthcare software conference, but a freak April snowstorm left me stranded at home with an unexpectedly free weekend. My regular Friday group had been eyeing that intimidating black box on my shelf for months, but we’d never found the right moment to commit to a legacy campaign. Suddenly, there we were—five adults with nowhere to be, plenty of snacks, and a kingdom to either save or ruin, depending on your perspective.

    The first session was chaos, honestly. We were all so cautious about revealing our hidden agendas that we ended up making bafflingly inconsistent decisions. My wife Linda still brings up how I passionately argued both for and against the same trade agreement within ten minutes. In my defense, I was trying to navigate my house’s secret need for economic stability while concealing my real objectives. Not my finest diplomatic hour, I’ll admit.

    After 34 games across two full campaigns (and one abandoned one that we don’t discuss after “The Great Betrayal of Game Seven” nearly ended a 12-year friendship), I’ve developed some insights about political maneuvering in The King’s Dilemma that might help you navigate your own royal court.

    im1979_The_Kings_Dilemma_Voting_Strategy_Based_on_Hidden_Agen_2a025efa-1a06-4321-8e3b-49747d054821_0

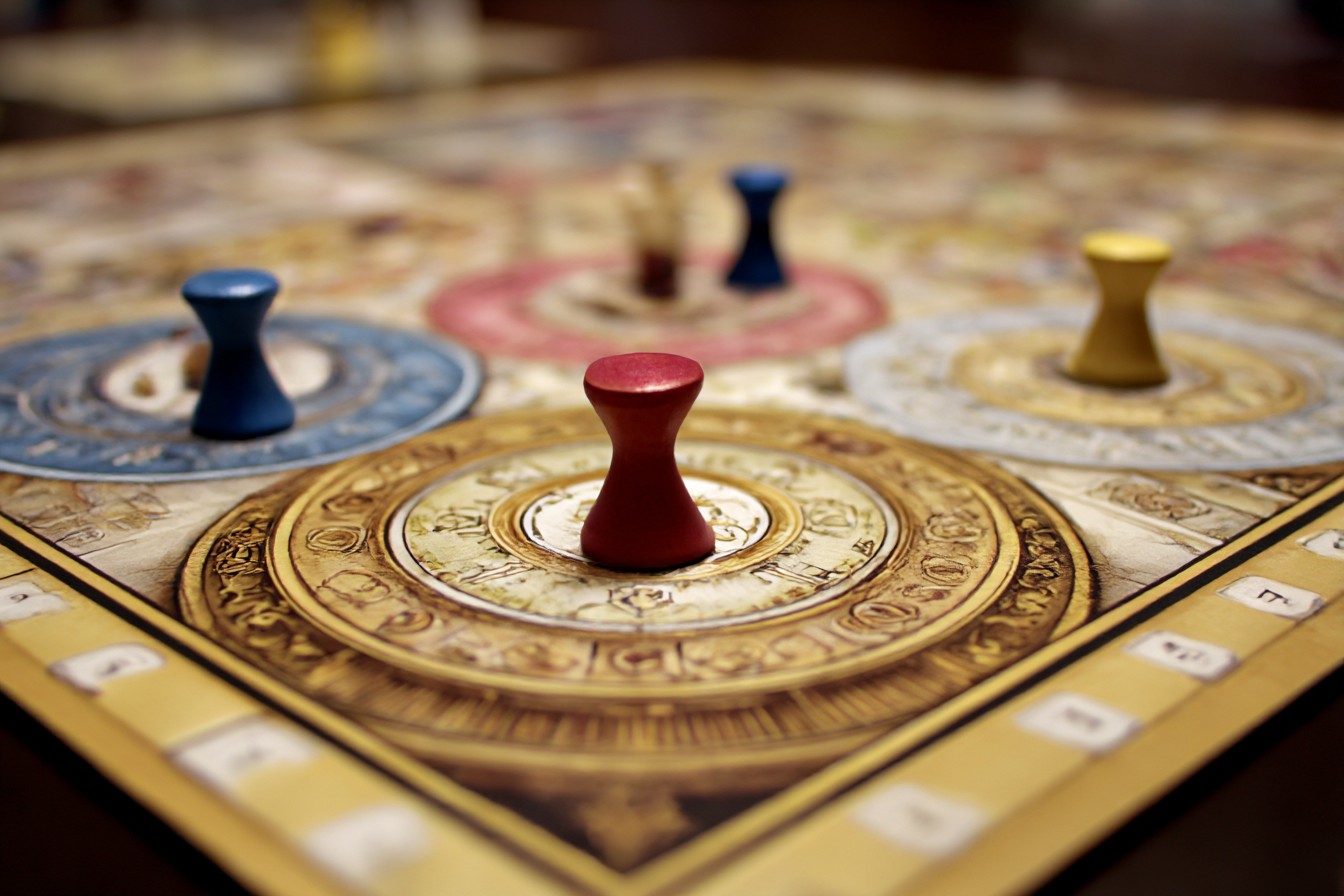
    The King’s Dilemma creates this fascinating tension between short-term power plays and long-term agenda fulfillment. It’s like trying to play poker while simultaneously planning a chess game eight moves ahead. And everyone at the table is watching your face for tells. The voting mechanism sits at the heart of this tension, and mastering it requires balancing several competing priorities without revealing your true intentions.

    First things first—your house’s hidden agenda is your north star, but fixating on it too obviously is the quickest way to failure. I played my first campaign as House Solad with an agenda tied to military weakness, and I stupidly opposed every single military initiative so transparently that by game three, everyone knew exactly what I was doing. They proceeded to pass military improvements just to spite me. I finished dead last, and deserved it.

    In our second campaign, I drew an agenda related to the kingdom’s moral decay. This time, I adopted what I now call the “politician’s approach”—supporting some moral improvements that didn’t critically threaten my agenda while focusing my strongest opposition on the few key decisions that would most directly impact my goals. The result? I finished second, just three points behind my son (who I remain convinced benefited from preferential treatment from his mother, but I can’t prove anything).

    The key insight here is that selective opposition is vastly more effective than blanket resistance. Think of it like picking your battles in a long marriage—if you fight about everything, your opposition loses meaning. But if you generally go with the flow and then occasionally plant your feet firmly on specific issues, people take notice when it really matters.

    This brings me to what I consider the core strategy for agenda concealment: the misdirection vote. Early in each campaign, identify one or two tracks that are irrelevant to your agenda and occasionally take strong positions on them. This creates a false pattern that throws other players off your scent. In our third campaign, I had an agenda tied to decreased population, but I made a big show about caring deeply about the kingdom’s knowledge track. By mid-campaign, everyone thought my agenda was knowledge-related, leaving me free to subtly influence population decisions without scrutiny.

    im1979_The_Kings_Dilemma_Voting_Strategy_Based_on_Hidden_Agen_2a025efa-1a06-4321-8e3b-49747d054821_1

    The power token economy adds another fascinating layer to voting strategy. New players often hoard power tokens, which is about as useful as saving vacation days until you’re too old to enjoy them. Those tokens are meant to be spent! But timing is everything. I’ve found that spending heavily in the middle chapters of each campaign typically yields the best returns—early chapters don’t have high enough stakes to warrant big investments, while late chapters often introduce unexpected twists that can render carefully hoarded tokens useless.

    One of my most successful strategies (which my group has taken to calling “Mitchell’s Gambit,” much to my embarrassment and secret pride) is what I call strategic abstention. Sometimes the most powerful vote is no vote at all. By abstaining at key moments, you accomplish three things: you preserve your power tokens, you avoid revealing your position on sensitive tracks, and—perhaps most valuably—you create ambiguity about your motives that keeps other players guessing.

    I employed this approach extensively in our second campaign when playing House Wynne. During a crucial vote about expanding mining operations that would affect both the kingdom’s wealth and stability, I made a show of being torn about the decision, engaged heavily in the debate arguing both sides, then dramatically abstained when the vote came. The other players spent the next three game sessions trying to decipher what my abstention meant, while I quietly pursued my actual agenda related to knowledge development.

    Speaking of other players, the social dynamics of The King’s Dilemma deserve special attention. Unlike purely mechanical games, your success depends as much on managing relationships as understanding systems. In our first campaign, I made the rookie mistake of opposing the same player repeatedly (sorry, Jim from accounting) until he made it his mission to block my objectives at every turn, regardless of his own agenda. Costly lesson learned.

    Now I carefully track opposition patterns and deliberately avoid creating persistent enemies. I’ll occasionally support a rival’s motion even when it doesn’t benefit me, simply to prevent the formation of entrenched opposition. This approach creates a more fluid political environment where temporary alliances can form and dissolve based on specific issues rather than personal vendettas.

    im1979_The_Kings_Dilemma_Voting_Strategy_Based_on_Hidden_Agen_2a025efa-1a06-4321-8e3b-49747d054821_2

    There’s an interesting psychological element to The King’s Dilemma that reminds me of my college game theory courses. The perceived consistency of your voting pattern influences how others interpret your motives. Too consistent, and your agenda becomes transparent. Too erratic, and other players dismiss you as random or incompetent. The sweet spot is what I call “patterned inconsistency”—decisions that seem somewhat unpredictable in the moment but reveal a coherent strategy in retrospect.

    I achieved this in our last campaign by occasionally supporting initiatives that seemed contrary to my apparent interests but included subtle conditions or amendments that actually advanced my hidden agenda. After one particularly convoluted negotiation about agricultural reforms that somehow ended with increased military spending (which secretly benefited my war-hungry house), Linda looked across the dinner table and said, “You know, your work presentations make a lot more sense now.” I’m choosing to take that as a compliment.

    The inheritance mechanic adds yet another wrinkle to long-term strategy. The knowledge that your successor house will benefit from your accumulated resources but might have entirely different agendas creates fascinating end-game decisions. In our second campaign’s final chapters, I found myself in the unusual position of knowing I couldn’t achieve my primary agenda, so I pivoted to setting up my successor for success. This meant deliberately tanking certain tracks to create opportunities for the next house while accumulating resources they could inherit.

    The sticker placement aspect of The King’s Dilemma deserves mention as well. Those permanent marks on the game board aren’t just legacy elements—they’re strategic tools. Multiple times across our campaigns, I’ve advocated for specific dilemma resolutions not because they immediately benefited me, but because they unlocked future story paths that I anticipated would align with my agenda. This type of speculative positioning requires careful attention to the narrative breadcrumbs the game provides, as well as a willingness to play the long game.

    Of course, sometimes the best-laid plans go spectacularly awry. In our third campaign, I spent six games carefully manipulating events toward what I thought would be a perfect scenario for my house, only to have a random event card completely invalidate my strategy. I may have muttered some words that made Linda remind me that “the teenagers are still in the house, dear.” The unpredictability can be frustrating, but it’s also what makes each campaign a unique story rather than a solved optimization puzzle.

    im1979_The_Kings_Dilemma_Voting_Strategy_Based_on_Hidden_Agen_2a025efa-1a06-4321-8e3b-49747d054821_3

    If there’s one overarching principle that guides my approach to The King’s Dilemma, it’s this: your primary opponent isn’t the other players—it’s the game’s narrative itself. Understanding this changed how I play. Rather than viewing other houses as enemies to be defeated, I now see them as fellow actors in a political drama where we’re all simultaneously cooperating to tell an interesting story while competing to ensure our house emerges favorably within that story.

    This perspective leads to more nuanced negotiations. Instead of simply opposing motions that hurt my agenda, I look for creative amendments or conditions that redirect the narrative in subtle ways. “I’ll support your military expansion if we fund it through increased taxes on luxury goods” achieves multiple objectives: it builds goodwill with the player seeking military growth, advances the narrative, and potentially influences economic stability in ways that benefit my hidden agenda.

    The true art of The King’s Dilemma isn’t just in concealing your motives—it’s in making your preferred outcomes seem like the natural, logical progression of the kingdom’s story. When you can frame your agenda as the solution to the kingdom’s problems rather than your house’s selfish interest, you’ve mastered the game’s political dynamic.

    Our gaming group still talks about the moment in our second campaign when I convinced everyone to support a seemingly disastrous war by framing it as the only honorable response to a diplomatic insult. The war served my house’s militaristic agenda perfectly, but the others voted for it because I appealed to their sense of the kingdom’s dignity. My son still narrows his eyes at me whenever diplomacy comes up in any game we play. Smart kid.

    So as you sit down to decide the fate of your own fictional kingdom, remember that your success depends not just on understanding the mechanical systems of tracks and resources, but on your ability to weave your house’s ambitions seamlessly into the larger tapestry of the realm’s story. Vote strategically, conceal selectively, and always—always—have a backup plan for when the king throws an unexpected dilemma your way.

  • Frosthaven: Class Synergy Optimization in the Frozen North

    Frosthaven: Class Synergy Optimization in the Frozen North

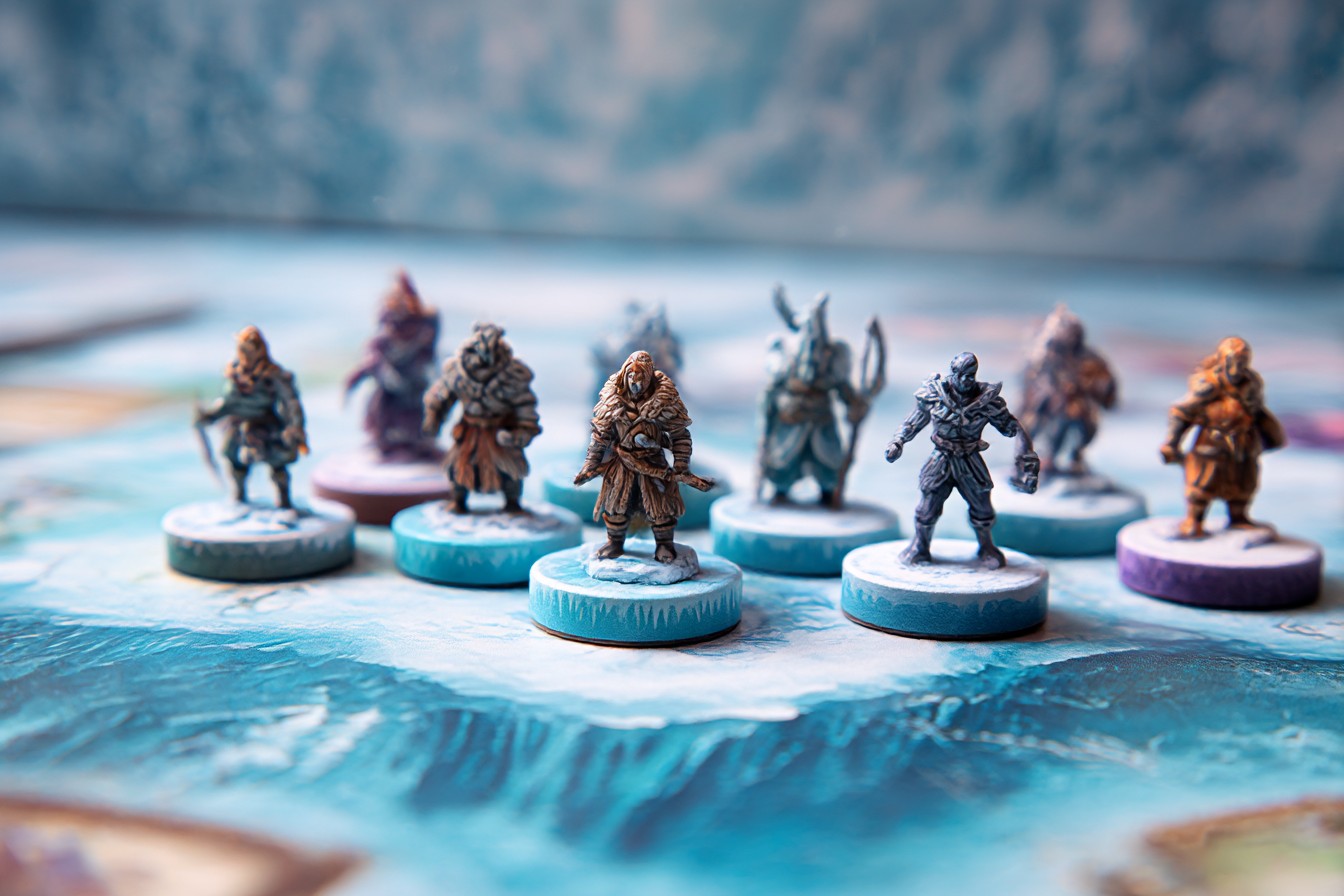
    I still remember the first time our Frosthaven party got absolutely demolished. We were four scenarios in, riding high on our Gloomhaven experience, when an unfortunate combination of monster draws and our own hubris left us staring at a table full of exhausted characters and triumphant enemies. As we packed up the pieces in silence, my friend Mike finally said what we were all thinking: “Maybe we don’t know this game as well as we thought.”

    He was right. Despite having hundreds of Gloomhaven hours under our collective belts, Frosthaven’s harsh winter setting isn’t just thematic window dressing—it fundamentally changes the strategic landscape in ways that demand rethinking how characters work together. The environmental challenges, different enemy types, and new class mechanics create a different puzzle that requires more thoughtful party composition than its predecessor.

    After that humbling defeat, our group spent an entire Sunday afternoon at my dining room table with character mats spread out, ability cards sorted into piles, and a whiteboard filled with hastily drawn diagrams of potential synergies. My wife Linda brought in sandwiches around hour three, took one look at our intense debate over whether the Banner Spear’s positioning abilities complemented the Deathwalker’s shadow generation, and wisely backed out of the room without comment.

    im1979_Frosthaven_Class_Synergy_Optimization_in_the_Frozen_No_2e557cab-cb35-411d-bffd-7662b094b043_0

    That session changed everything. We rebuilt our party from scratch, focusing on how our characters could amplify each other rather than just individually survive. Six months and thirty-some scenarios later, I’m convinced that in Frosthaven, party synergy isn’t just helpful—it’s essential.

    Gloomhaven veterans (I’m looking at you, person who’s reading this because you’re about to start a Frosthaven campaign) often bring certain expectations about class roles and party balance that don’t perfectly translate. The first thing I tell anyone switching from Gloomhaven to Frosthaven is to leave behind the strict tank/damage dealer/support paradigm. The harsh winter environment rewards flexibility and interaction more than specialized roles.

    Take our second party composition, for instance. After our disastrous first attempt with a traditional balanced party, we experimented with a Blink Blade, Drifter, Banner Spear, and Geminate. On paper, this looked like it might struggle with healing, but the overlapping control elements created a situation where enemies rarely got to activate at full strength, making traditional healing less necessary. The Drifter picked up some minor healing capabilities, and suddenly we had a party that flowed together beautifully.

    I’ve noticed that effective Frosthaven parties tend to form around one of three core synergy types: element generation/consumption, positioning manipulation, or condition application/exploitation. The most successful groups I’ve seen (both my own and those I’ve advised through the site) typically excel at one of these areas while having at least some capability in a second.

    The element cycle in Frosthaven feels more integrated and necessary than it sometimes did in Gloomhaven. My friend Sarah’s group runs what I jokingly call an “element factory” composition with a Crashing Tide and Infuser at its core. The consistent element generation enables spectacular turns where multiple characters chain off each other’s elemental consumptions. The downside? They sometimes struggle when facing enemies that mess with element generation or in scenarios with particular elemental challenges.

    im1979_Frosthaven_Class_Synergy_Optimization_in_the_Frozen_No_2e557cab-cb35-411d-bffd-7662b094b043_1

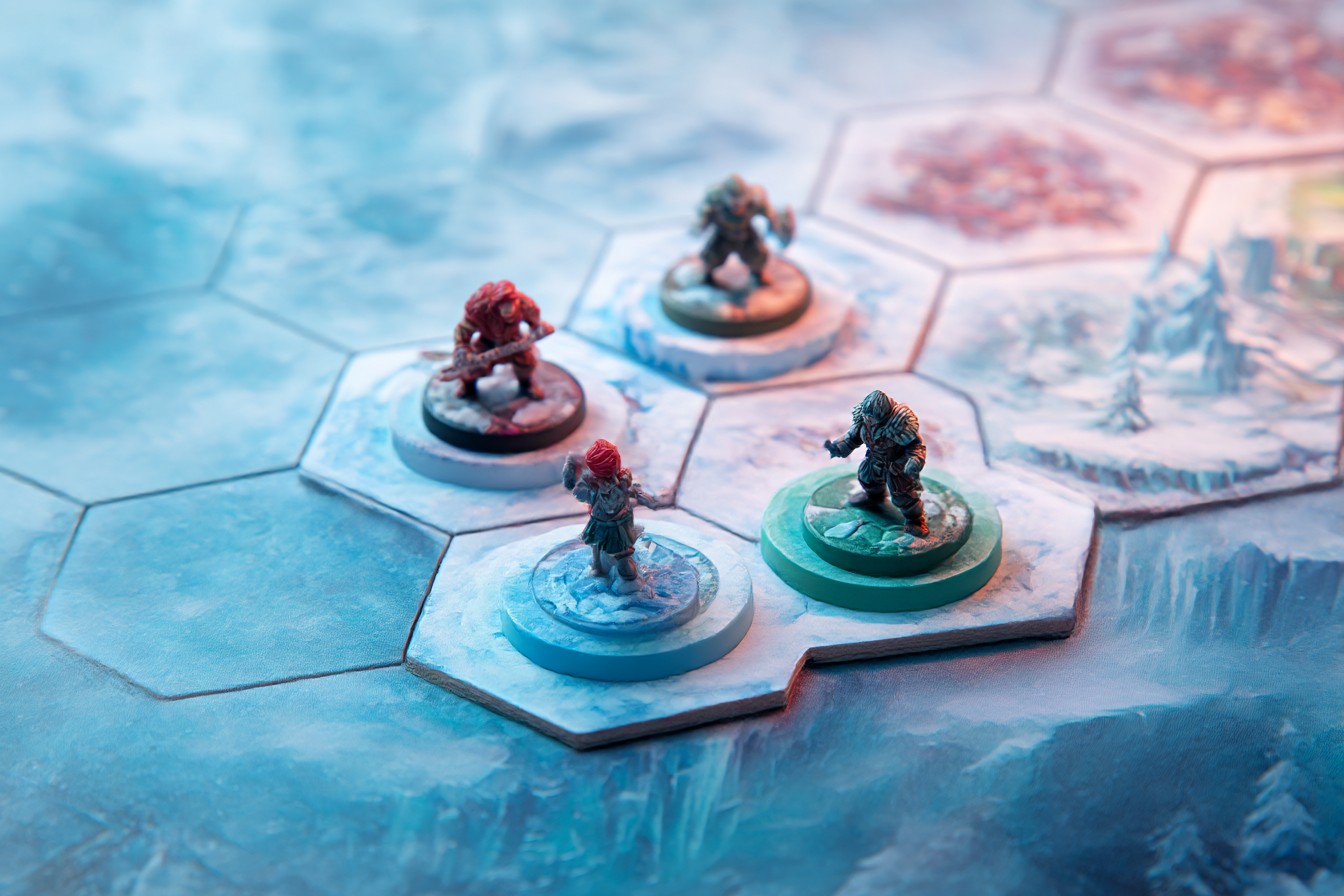
    Positioning synergy became my personal obsession after watching how effectively the Banner Spear can set up allies. In our third campaign (yes, I’m running multiple concurrent campaigns—my wife has infinite patience), we built around positioning with the Banner Spear and Blinkblade working together to constantly manipulate both ally and enemy positions. Add in the Deathwalker’s shadow manipulation, and we created a fluid battlefield control system that let us dictate exactly where every figure stood. The number of times we’ve avoided damage entirely by simply not being where enemies wanted us to be is remarkable.

    The condition-focused approach is perhaps the trickiest but potentially most devastating. A party built around stacking and exploiting conditions requires more coordination between players but can create spectacular combo turns. One memorable scenario saw our Deathwalker and Drifter coordination apply four different conditions to the main boss in a single round, setting up the Banner Spear for a finisher move that nearly one-shotted what should have been a lengthy battle.

    But party synergy isn’t just about mechanics—it’s about player styles too. This is something I didn’t appreciate enough initially. Tom, a regular in my Tuesday night group, is a methodical, risk-averse player who excels with the Banner Spear’s controlling style. Jason, on the other hand, loves aggressive, somewhat reckless play that perfectly suits the Blinkblade’s hit-and-run approach. When we aligned character capabilities with player temperaments, our overall effectiveness increased dramatically.

    I’ve also found that Frosthaven rewards communication more than Gloomhaven did. The synergies are more intricate, the timing more crucial, and the margin for error smaller. Our most successful sessions involve more table talk about timing and coordination than we ever needed in Gloomhaven. I’m not saying you need a full battle plan for every turn, but a simple “I can move that enemy three spaces this round if someone can capitalize on it” makes a huge difference.

    Through my site, I’ve received dozens of questions about the “optimal” Frosthaven party. I always give the same answer: there isn’t one. The scenario variability, personal quest requirements, and different player counts all impact what works best. What matters more is building a party where the synergies are clear and intentional, and where players understand how their actions set up opportunities for others.

    im1979_Frosthaven_Class_Synergy_Optimization_in_the_Frozen_No_2e557cab-cb35-411d-bffd-7662b094b043_2

    That said, I do have some general principles that have served my groups well:

    Every successful party needs some way to deal with swarms of smaller enemies AND some way to deal significant single-target damage. The scenarios balance these challenges differently, but you’ll face both regularly.

    Movement manipulation (both for allies and enemies) is more valuable in Frosthaven than it was in Gloomhaven. The scenarios often feature more complex terrain and positioning challenges.

    Consider your element generation/consumption as a party, not just individually. Having multiple consumers but weak generation creates frustration; having generators without consumers wastes potential.

    Make sure your initiative ranges as a party allow for effective sequencing. Having everyone cluster in the same initiative range limits tactical flexibility.

    im1979_Frosthaven_Class_Synergy_Optimization_in_the_Frozen_No_2e557cab-cb35-411d-bffd-7662b094b043_3

    Condition application is most effective when multiple party members can capitalize on the same conditions. A single character applying conditions only they can exploit is usually suboptimal.

    The learning curve here can be steep. Our first truly effective party still had about five scenarios of growing pains as we learned to time our actions and set each other up for success. I still remember the exact moment when it all clicked—we were facing a particularly nasty elite enemy, and without any explicit coordination, each of us played cards that perfectly flowed together, positioning the enemy, applying vulnerable, and then landing a massive blow augmented by advantage. We all looked at each other in surprise after that turn. “Did we just…?” “Yeah, I think we’re finally getting it.”

    The best thing about focusing on synergy is how it transforms the experience from four people playing alongside each other to a genuine team effort. Some of my favorite Frosthaven moments haven’t been my own big turns, but rather when I played a seemingly minor card that set up Jessica for a spectacular follow-up that none of us could have executed individually.

    I’m sure some readers are hoping I’ll break down specific class combinations with numeric optimality ratings. I’ve tried creating such systems, but they always feel reductive. Instead, I encourage you to look at your available classes and ask: “How do these characters create opportunities for each other?” The Frosthaven classes are brilliantly designed to have multiple synergy hooks—identifying and exploiting these connections is far more valuable than any tier list I could provide.

    All this being said, don’t let perfect be the enemy of good. Even a suboptimal party with players who communicate well and understand their synergies will outperform an “optimal” composition played as four individual characters. I’ve seen parties succeed with supposedly weak combinations because the players understood exactly how to amplify each other’s strengths and cover each other’s weaknesses.

    im1979_Frosthaven_Class_Synergy_Optimization_in_the_Frozen_No_9b323500-970b-4339-9b53-fcd67ff07906_0

    If your group is just starting Frosthaven, I’d recommend spending a session before your first scenario just exploring how your chosen classes might work together. Look for ability cards that create opportunities for others, discuss initiative sequencing, and be explicit about how elements, conditions, and positioning might flow between your characters.

    And when (not if) you face that first brutal defeat—because Frosthaven can be punishingly difficult—use it as a learning opportunity. Our post-defeat strategy session completely changed our approach to the game and ultimately made our experience much more rewarding.

    The frozen north is harsh and unforgiving. But with the right team working in genuine concert—not just four strong individuals but a truly synergistic unit—you’ll find that even the coldest Frosthaven scenario can be conquered. Just don’t be afraid to reset and rethink if your initial approach leaves you buried in snow like we were.

    Now if you’ll excuse me, I need to prepare for tonight’s session. My Deathwalker has a new card that I think will create some fascinating shadow positioning opportunities for our Banner Spear, and I can’t wait to see if my theory pans out…

  • Ark Nova: Action Optimization for Zoo Development

    Ark Nova: Action Optimization for Zoo Development

    When I first played Ark Nova, I got absolutely wrecked. Not just beaten—I was my zoos’ flamingo enclosures and tortoise exhibits, and my friends’ apple sunglasses-charm filled conservation zones won with added eye trinkets worth numberless extra points. I lost with a score of 87 points to my 35. Sad.

    And of course – I did blame my failure to understand the quite shocking and illogical action selection system. To me, the system Ark Novauses seemed unbelievably simple—pick a card, do the action, move it to the rightest no-slot, everything moves. Turns out, I was wrong on all fronts.

    This grind continues the next morning, so I decide to claw my way out of it by calling Patrick. This strategy-to-me-life gives me a sense of freedom akin to when you tell a closeted friend that their new haircut shows combination plates. With this in mind, I change my tone and mildy helplessly force for a rematch.

    im1979_Ark_Nova_Action_Optimization_for_Zoo_Development._Stra_66b45ecc-938f-4308-9ade-8aa85703e78f_1

    We played it 7 times in a single month—seven! Linda, my wife, began to refer to Patrick as my “zoo boyfriend” because of the frequency with which he came to our house. But those repeated plays were quite revealing. With every game played, the action selection puzzle became clearer to me, exposing patterns that I had previously overlooked.

    Here’s what I’ve deduced, economically speaking, after 32 plays (don’t worry, I track everything, it’s part of the job when you manage a strategy gaming site) and trying to understand why some zoos operate like thriving metropolises teeming with animals, while others exist as somber enclosures filled with mere meerkats and parakeets.

    Before anything else, the order in which you set up your action cards for the first time is much more critical than it seems. Most novice players, including former me, overestimate the value of the first five cards and treat them as equal options. That is, unfortunately, the action that almost guarantees failure right away. In that first turn, you should be placing your most crucial early-game actions so that they are positioned in an order that reduces wasted turns. For me, that usually means prioritizing cards, building, and association in the first few slots.

    im1979_Ark_Nova_Action_Optimization_for_Zoo_Development._Stra_66b45ecc-938f-4308-9ade-8aa85703e78f_2

    I tracked my first-round choices for the last fifteen games, and there seems to be a pattern with the game’s overall score and how I placed building and cards in slots 1 through 3. Getting an early enclosure and filling your hand creates exponentially more options as the game progresses.

    The cadence of the action cards is what makes Ark Nova enjoyable. It is a different galaxy if you are simply choosing the next action in the optimal way; you’re supposed to plan several turns in advance. In two rounds, will you have the “cards” available to see your board then? If you took “cards” right now, which other parts of the board will be available then? I have been trying to envision small decision trees, for example, if I decide to take building now, I’ll be needing animals two turns later, so animals should be placed for easy reach.

    Planning ahead is even more important for the association action. A lot of new players tend to take association whenever it is up for grabs, and that is not the best use of resources. There is a pacing to when the university partnerships or conservation projects should be taken, and it is never right at, when the card simply lies in the leftmost position.

    im1979_Ark_Nova_Action_Optimization_for_Zoo_Development._Stra_66b45ecc-938f-4308-9ade-8aa85703e78f_3

    My friend Jim didn’t understand. He would pick the action that offered him the most value, even if it was the furthest left on the chart. By mid-game, his action row would not match in any way with what he actually required. We still tell him about the “Monkey Disaster” when he drew six monkey cards in a row but could not use his animal action card for three more turns. Those monkeys tortured him for life, I am certain.

    The building action is without a doubt the most misinterpreted. It seems to me inexperienced players view it simply as making room for animals which is vital, yes, but the building action is actually the primary way to build your engine. It’s far more important to get ongoing effects or action improvement than create additional enclosures. My win rate increased significantly once I oriented my focus to action enhancing structures instead of just housing the animals.

    The breakthrough came during the 14th game (which I played at our cabin during what was to be a relaxing weekend but turned into an Ark Nova marathon — Linda loved it). I concentrated almost exclusively on the actions that enhanced my card and animal actions rangers. By mid-game, I was drawing 7 drawing 7 cards and retaining 4 after the cards action. The engine, after that point, more or less constructed itself.

    im1979_Ark_Nova_Action_Optimization_for_Zoo_Development._Stra_95410a1e-8aeb-40ba-a384-ecfdd005913f_0

    Let’s discuss the breaking point idea. Almost every engine-building game will have an instance where your machine tips from struggling to powerful. In Ark Nova, this moment usually comes when you can reliably perform 2-3 very synergistic actions back to back. It is the “zoo momentum moment.” It is now an obsession of mine to pinpoint precisely how and when to push for it.

    Typically, that for me is the breaking point where I have optimized a cards action to at least draw 6, have 2 or 3 special buildings running, and animals of 4+ appeal are consistent. If you’re not intentionally crafting towards this state, tussle out with animals and sequentially drop them onto the battlefield, which is not a winning move.

    I tried many approaches which led me to try new strategies to win. It’s true that this approach, one that involves associations, works, but you have to select schools carefully. Another example is building-centric strategies. They can be highly effective, but extremely challenging if you do not discover the right specialized buildings early. A full-on animal stampede works too, although you would need certain cards to be shown during the right time. None of the strategies can be regarded as ‘the best one’ because that is the core reason why the game is so enjoyable to play multiple times.

    im1979_Ark_Nova_Action_Optimization_for_Zoo_Development._Stra_95410a1e-8aeb-40ba-a384-ecfdd005913f_1

    Animals. There are more important things than a high appeal. An eye-catching design is synonymous with a money trap, such a thing is foolish if associated. In the past, I was obsessed with obtaining animals with high appeal and would usually go bankrupt, but nowadays I’ve switch priorities, targeting animals that help my conservation track or enable powerful card effects. That unappealing animal may not look good but will end up becoming a prerequisite toward a conservation project worth 10 points.

    Last summer, I managed to win my game after I intentionally selected animals that had low appeal but high conservation value. My friends now refer to this as the “ugly animal strategy”. Ended up collecting a heap of endangered toads alongside lesser-known reptiles and small primates. The zoo wasn’t visually stunning and probably would go unnoticed by tourists, but the conservation win was impressive.

    Card action is a critical factor in executing a strategy, but it shifts as the game progresses. In the early game, volume is usually prioritized, which means maximizing all available cards in order to identify key components. In the mid-game, selectivity reigns supreme – fewer cards are taken, but maintaining a higher percent of useful cards is often preferable. By late-game, I find myself using cards primarily for action improvements rather than for actually taking many cards. This shift isn’t apparent at the start, but it is fundamental if one is attempting to optimize their strategy.

    im1979_Ark_Nova_Action_Optimization_for_Zoo_Development._Stra_95410a1e-8aeb-40ba-a384-ecfdd005913f_2

    I once stubbornly spent an entire play session circling the same tier and continually attempting to draw the max cards every turn. The end result was a hand that could compete against being in an actual petting zoo instead of a conservation center. Well, not the best showcase of my skills.

    Break timing, or rather when you take suboptimal actions to restructure your actions, is another advanced technique. Strangely enough, the worst available action can sometimes serve as the correct choice if setting up for a strong sequence in the next 3-4 turns. This move is what distinguishes the inexperienced and experienced in Ark Nova, the latter wont simply optimize for immediate tangible gain.

    I note down the breaks in my gameplay and there seems to be a strong correlation between strategically placed breaks during rounds 3-5 and winning the game. One’s ability to give up short term wins to fortify one’s position in the long term is, without a doubt, the most significant skill and the hardest one to cultivate.

    im1979_Ark_Nova_Action_Optimization_for_Zoo_Development._Stra_95410a1e-8aeb-40ba-a384-ecfdd005913f_3

    The design of the map adds another layer of strategy that overlaps with the player’s choices. I have seen that producing adjacency bonuses often validates a slightly inefficient action being taken. When kiosks are placed properly, they offer exceptional value and income generation, often making mid-game sponsorships unnecessary.

    Sarah, my friend, is unmatched at this. From maximizing bonuses to inefficient zoo layouts proposed by my drunk cousin city planner which make it look like at best a bunch of toddlers were let loose with markers and forced to draw the zoning maps for some sick twisted Digimon cityscape. Personally, Sarah’s zoo isn’t a single zoo. Its multiple zoos, each more sprawling, elaborately organized, contained within ever-spiraling sets of parentheses nested ad infinitum, waiting for clever mathematicians to discover more ways of sneaking into their inner depths.

    With partner cards, the overall strategic depth gets a plethora of options. For a new player, the more obvious appeal of tackling immediate priorities blinds the underlying strength that synergized partner selection offers. If an action sequence is planned, selecting skilled partners whose abilities fit the sequence makes all the difference. If there is an association action heavy barrage, partners from the university enhancing that branch become invaluable despite dismal base stats.

    im1979_Ark_Nova_Action_Optimization_for_Zoo_Development._Stra_d3f5a689-1b99-42a8-8b05-adc4f80e8130_0

    For this one, I have been tinkering with what I like to call “partner driven strategy,” which is a tailored approach based on specific partners that show up at the start of each game. It is not built around mid to late game balance, so the strategies can feel less consistent, but when it hits, it hits extremely hard. My personal best scoring game was around 100 points, which stemmed from a luck driven strategy where I had the ideal supporting cards.

    Conservation projects are important to consider. One of the deviations is going after animals that are “matched,” but a better strategy is to focus on animals that you suspect will be up for selection and will help you finish off high value projects. That kind of intention and strategy early on helps dictate the final score.

    The very first game comes to mind when I think of this and how I ignored all logic with an opportunistic approach. I went in expecting that there was going to be a lot of possible animals that I could collect, and was instead met with a random assortment of animals. Since then, I have stuck to two or three possible project paths which with few starting moves help guide my overall strategy.

    Finally, do not underestimate the value of end-game timing. Unlike many engine builders, knowing when and how to trigger the end in Ark Nova is an art in and of itself. Sometimes you want to play that final conservation project, and other times you will want to wait to have one last mega action scoring frenzy. This is especially relevant in the mid to late game where there is a higher player count and you have less control over the end of the game.

    Anyway, that’s where I would draw the line when optimizing actions in Ark Nova. It quickly climbed up the list of my all time favorite games, as it combines strategic depth, meaningful decisions, and thematic elements that never fails to draw me back. Every game has so many new interactions and approaches that reveal themselves from outside the box thinking that I haven’t thought of previously.

    And yes, eventually I was able to beat Patrick. Quite handily, I would add. With my conservation focused strategy scoring 92 to his 63, which only makes me roll my eyes constantly when mentioned at socio-appropriately inopportune times. But who doesn’t love friends?