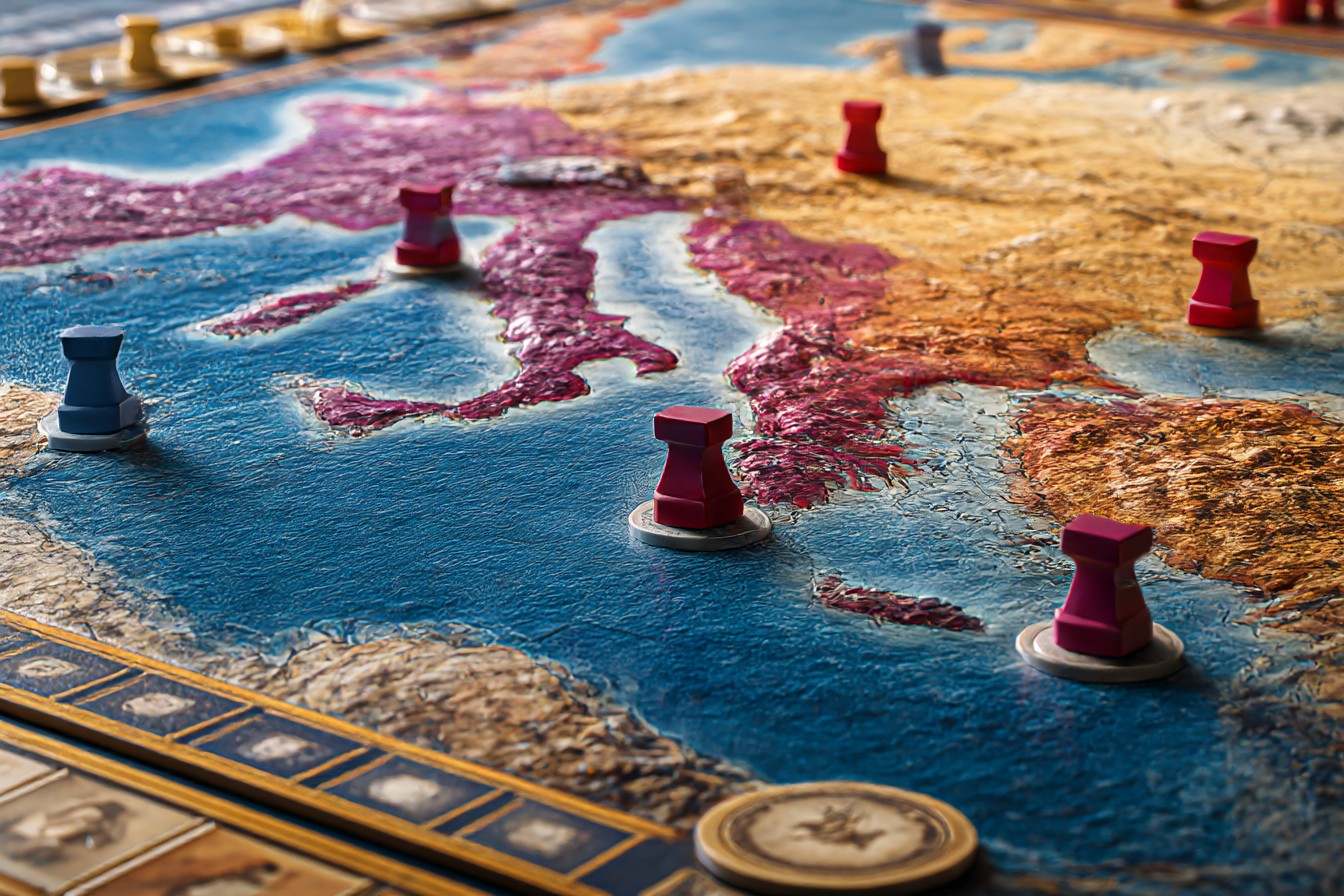
Last month I was trying to get my buddy from work into Concordia – yeah, I know, not exactly a Target shelf game, but bear with me here. Mike had played the regular version a bunch of times at our monthly game group, and I figured I’d mix things up with the Gallia and Corsica maps. “Maps are just decoration, right?” he says. I almost spit out my beer laughing.
Two hours later, after I’d basically schooled him on both maps (sorry Mike, but you walked into that one), it hit me how much these different boards actually matter. And I’m not talking about just making the game look different – these maps completely flip your whole approach to playing. It’s like the difference between driving through downtown Columbus versus taking back roads through rural Ohio. Same destination, totally different journey.
I first ran into the Gallia map at this gaming meetup in Dublin – not the Ireland one, the suburb here. Had gotten pretty comfortable with the base game’s setup where you can kind of spread out however you want, then suddenly I’m looking at this board with all these bottlenecks and river systems that make every single move feel like it matters twice as much. Those rivers aren’t just pretty blue lines on the board – they’re like traffic jams waiting to happen.
Here’s what took me way too long to figure out about Gallia: forget everything you know about expanding wide early. Those river passages become prime real estate, and whoever controls them basically gets to decide how everyone else moves around the board. Learned this lesson the hard way when another player at that Dublin meetup locked me completely out of an entire section just by grabbing the right river cities early on.
The brick and food production spots are bunched together way more than on the regular map, which makes your Prefect moves absolutely huge. Can’t mess around with small gains because missing out on a good spot might cost you the whole game. I’ve watched players lose entirely because they wasted their Prefect on grabbing one little resource when they could’ve dominated a whole production area instead.
Now Corsica – that’s the complete opposite problem. Where Gallia makes you feel claustrophobic, Corsica gives you so many route options that you can spend forever just staring at the board trying to decide what to do. The island rewards getting out there fast, but you better know exactly where you’re going because wandering around randomly will get you destroyed. Those distances between the good production areas aren’t kidding around.
First time I played Corsica was at the game store on Sawmill Road, and I made the rookie mistake of playing it like the base game. Got all focused on immediate payoffs, didn’t think about where I’d be positioned later in the game. By maybe turn six, I was stuck in terrible spots while everyone else had these beautiful setups connecting different parts of the island.
The wine situation on Corsica is interesting – there’s more of it than usual, but it’s scattered all over the place. Creates these timing decisions about when to go heavy on wine strategy. Jump in too early and you might miss better opportunities. Wait too long and all the good wine spots are taken by other players.
What really separates the players who get it from the ones who don’t is understanding how the Diplomat card works differently on each map. On Gallia, every Diplomat move is precious because of all those movement restrictions. Every single use needs to do multiple things at once – advance your position, mess with opponents’ plans, set up your next few moves.
I’ve got this personal rule now for Gallia: never use Diplomat just to move unless it’s accomplishing at least two other things at the same time. Sounds limiting, but it forces you to think way ahead, which is exactly what that map demands from you.
Corsica’s different because you’ve got multiple ways to get where you want to go, so you can be more aggressive with your movements. But those long distances mean you really need to plan your whole sequence of Diplomat moves or you’ll end up stranded somewhere useless.
The Senator card changes completely between these maps too. On Gallia, those bonus actions are gold because they help you work around all the geographical roadblocks. I go for Senator plays that give me movement options even if the immediate resource gain isn’t the best available.
On Corsica, the layout’s more forgiving, so Senator bonuses can focus more on pure efficiency rather than trying to solve positioning problems. You’re not fighting the board as much, so you can optimize harder for resources and scoring.
Resource management gets flipped around too. Gallia’s concentrated production areas mean you can actually specialize pretty heavily in specific resources, but you’ve got to establish that specialization early before the key spots disappear. I’ve won several Gallia games by going all-in on food production right from the start and riding that advantage the whole way through.
Corsica punishes specialization because those long distances make trading inefficient if you’re missing key resources. Better to stay more balanced, but you need to time when you diversify so you don’t spread yourself too thin during the important middle turns.
Even the personality cards – Concordia’s role cards – work differently on each map. The Architect becomes way more valuable on both expansion maps because building placement matters so much more. A smart house placement on Gallia can control access to a whole region. On Corsica, good building spots create these movement hubs that save you tons of travel time.
My biggest learning curve with these maps was realizing that the early game sets you up way more than on the base map. Regular Concordia, I could often bounce back from a slow start by optimizing better in the middle game. These expansion maps don’t give you that luxury. Your first four or five turns create patterns that are really hard to fix later.
For Gallia specifically, I spend way more time during setup studying those river systems and figuring out which early positions give me the most future flexibility. It’s not always the spots with the best immediate resources. Sometimes a position that looks mediocre becomes incredibly powerful once you see how it controls traffic flow.
Corsica needs similar planning but different priorities. I’m looking for spots that minimize my total movement costs across the whole game while keeping access to different production types. The math gets complicated, but after playing it maybe thirty times, you start developing gut feelings for which early positions pay off.
Both maps reward thinking about space and position rather than just pure resource math. Economic optimization still matters, but controlling good positions often beats pure efficiency. Understanding that difference completely changed how I approach these games. It’s like realizing that sometimes taking the longer route gets you there faster because you avoid all the traffic – except the traffic is other players and the routes are rivers and island pathways.
Mike’s getting better at reading these maps now, though he still defaults to base game thinking sometimes. Can’t blame him – took me months to really internalize how different these expansions play. But that’s what makes them worth having, you know? Same core game, completely different strategic challenges.
Walter’s an Ohio dad who believes Monopoly marathons still count as quality time. He writes about family-friendly classics, house rules that keep the peace, and how to make game night work with actual kids at the table.


Leave a Reply